
Last Updated on September 26, 2019 by Michelle Lam
Customer success is one of the most important parts of any SaaS business model, and the onboarding process is where that success starts. In fact, the onboarding process can often mean the difference between early churn and a recurring long-term customer.
So how do you make sure your onboarding process is as tight and well-optimized as possible? By automating your processes. By automating your processes, you’ll be able to drive down costs, boost success rates, and increase the efficiency of workflows in your business.
In this post, I’ll break down each step along the way to setting up an integration between Re:amaze and Process Street, to streamline the onboarding process to provide maximum value for new customers.
Let’s get started!
How to Use Re:amaze and Process Street to Streamline Your Onboarding Process
The bottom line is that integrations can save you time and money by automating manual processes in your everyday workflows.
For example, if you’re doing onboarding and you have to manually send the same email out dozens of times per day, for each new sign-up, then it’s easy to see how much time you’d save with a simple integration. Similarly, if you have a checklist for each task in the onboarding process, it makes things even easier.
Processes are invaluable for pretty much any recurring task you need to do in your business. The benefits of process management are clear, and you can double-down on those benefits by adding a little automation to the mix.
Process Street is a versatile workflow management tool that allows you to create and edit highly customizable templates, which you then use to run checklists.
By structuring all of your recurring tasks around a clearly-written, standard process (a checklist) with actionable tasks, you do two things:
- Reduce the potential for human error
- Effectively “smooth the road” for more streamlined work by making tasks more actionable
Re:amaze is the other half of this equation here. It’s an integrated customer service, live chat, and helpdesk platform for online businesses, and combined with Process Street in this integration, it will help you ensure you’re delivering maximum value to each of your new sign-ups.
You will save valuable time by automatically running an onboarding checklist for each new signup, and simplifying the process task-by-task (with even more automation baked into each of those tasks!) to eliminate human error and speed up response times.
Because the automatic integration is built into the process, there are a few implications. Namely:
- You can rest assured you haven’t lost valuable client feedback as a result of human error;
- Time and money saved by the removal of tedious manual tasks can be put to better use in your company.
Getting started with integration
To create this integration, we’ll be using Zapier.
Zapier is a tool that specializes in allowing you to effortlessly link 1,000s of business software apps together, including pretty much all of your typical day-to-day applications.
It does this with “Zaps”, which is just another way of saying integration.
In this article, I’ll be going through each of the steps to set up a working integration between Process Street and Re:amaze, to automate the client onboarding process.
Breaking down the different parts of a Zap
Zaps are made up of a couple of important parts: triggers and actions.
Triggers are the events that cause Zapier to think “Oh! I need to do something now”, and actions are what happens as a result.
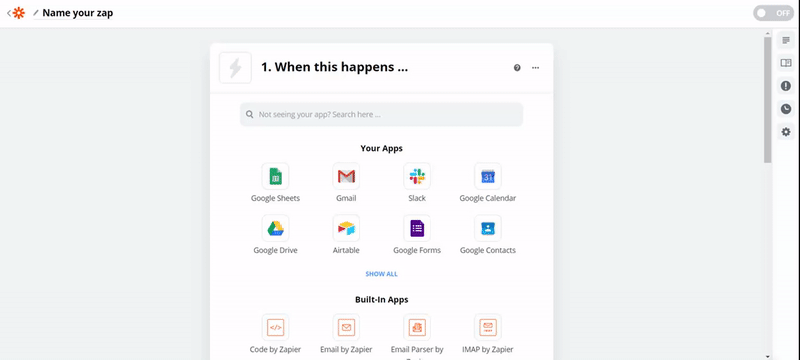
The first step is to create a new Zap. Head on over to Zapier and create an account if you haven’t already. Then, click the “Make a Zap!” button on the top right corner of the screen.
In this case, we want to set the trigger to be whenever a new contact for a specific list in Re:amaze is added, and the resulting action to be running a specific checklist in Process Street.
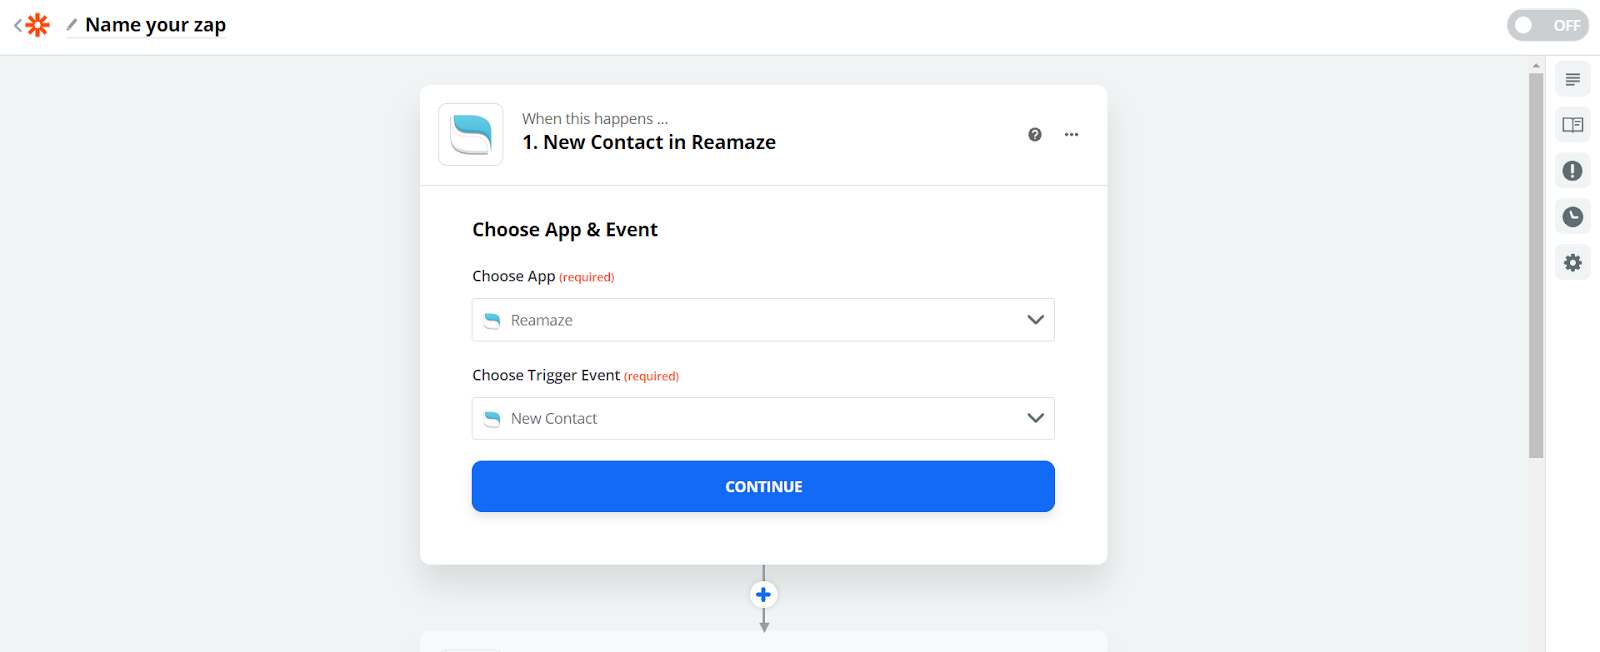
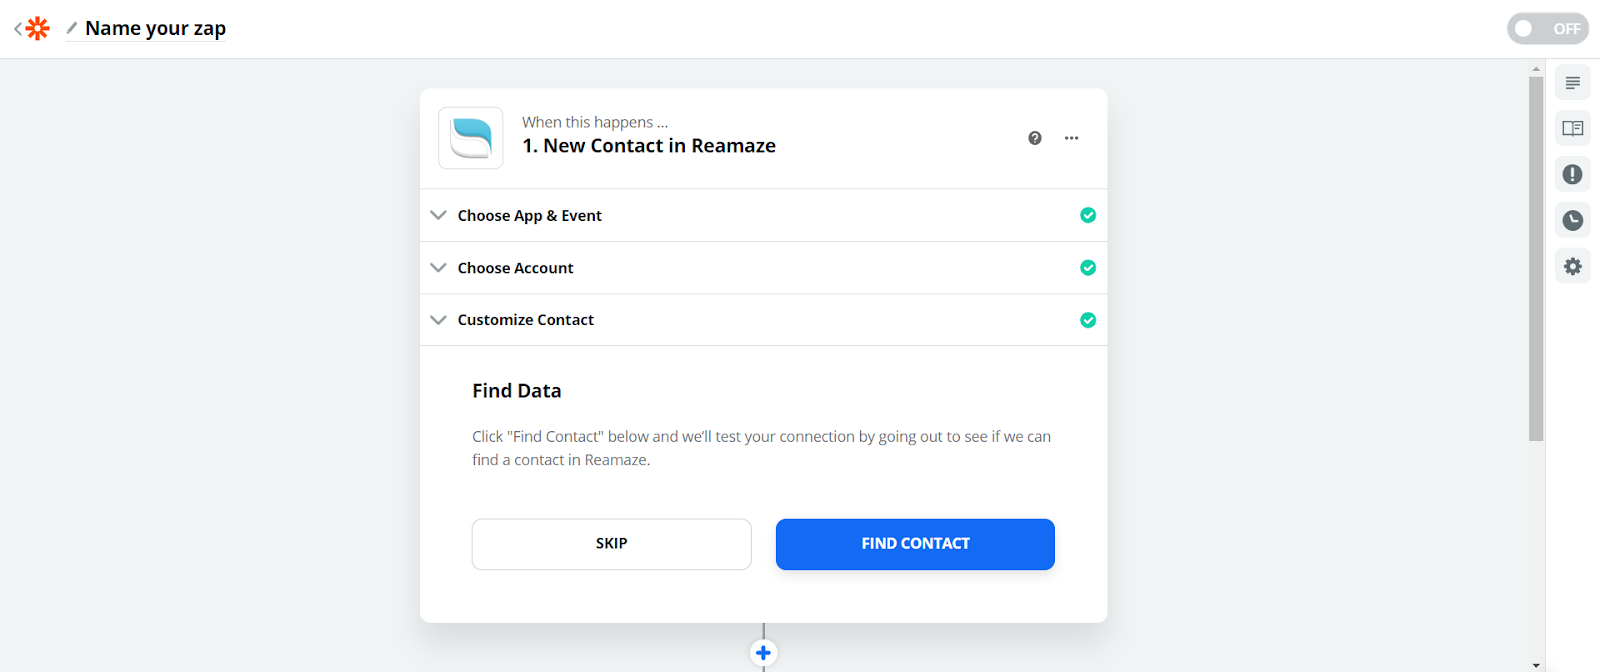
Setting up Re:amaze as the trigger
Search for “Reamaze” and select it. This is the trigger, and now we need to configure the trigger details.
Next select “New Contact” as the trigger event and hit “Continue”.
Then connect your Re:amaze account with Zapier by clicking “Sign in to Reamaze”.
You’ll be greeted by a popup window to enter your Re:amaze API access token, which you can retrieve from your Staff Profile Page.
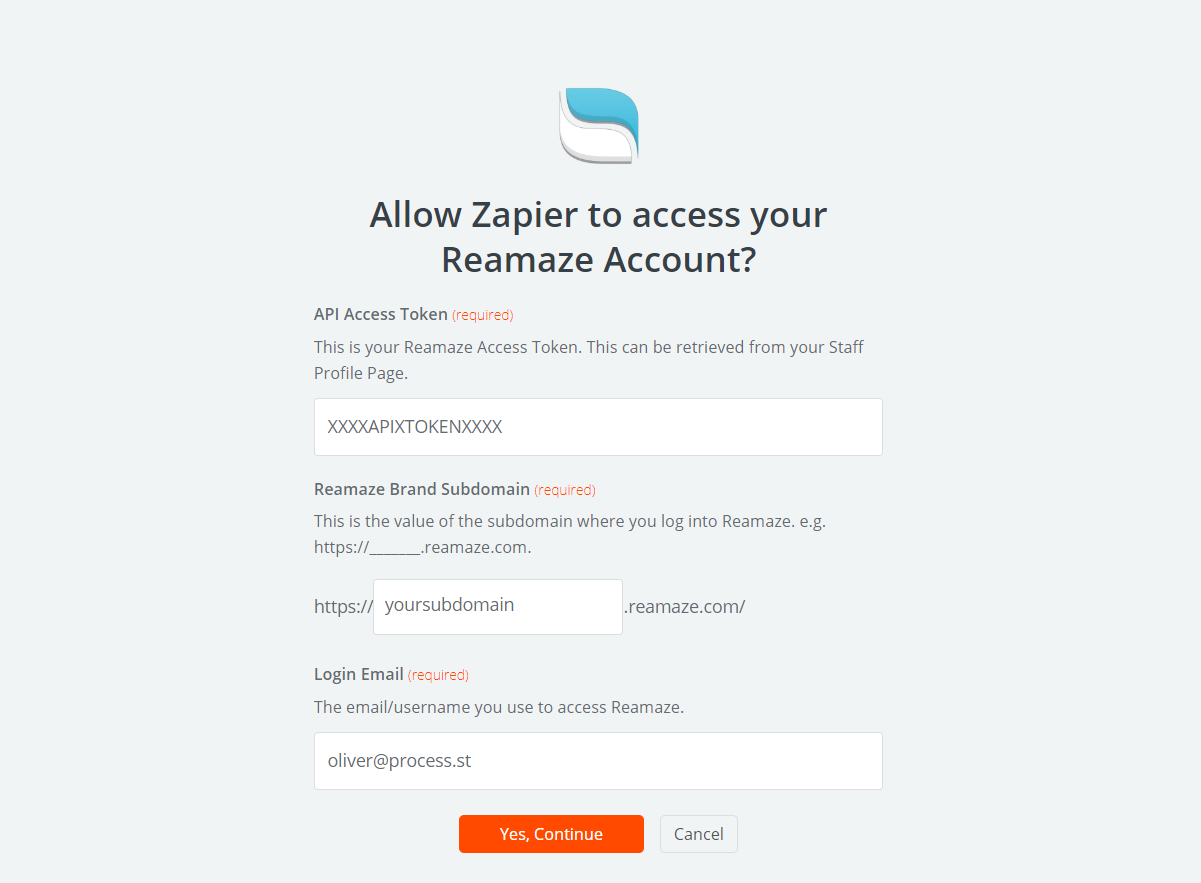
Proceed to choose the type of Re:amaze contract to work with the trigger. For this example, I’ve selected “Email”, but you should use whatever is most appropriate for your user funnel.
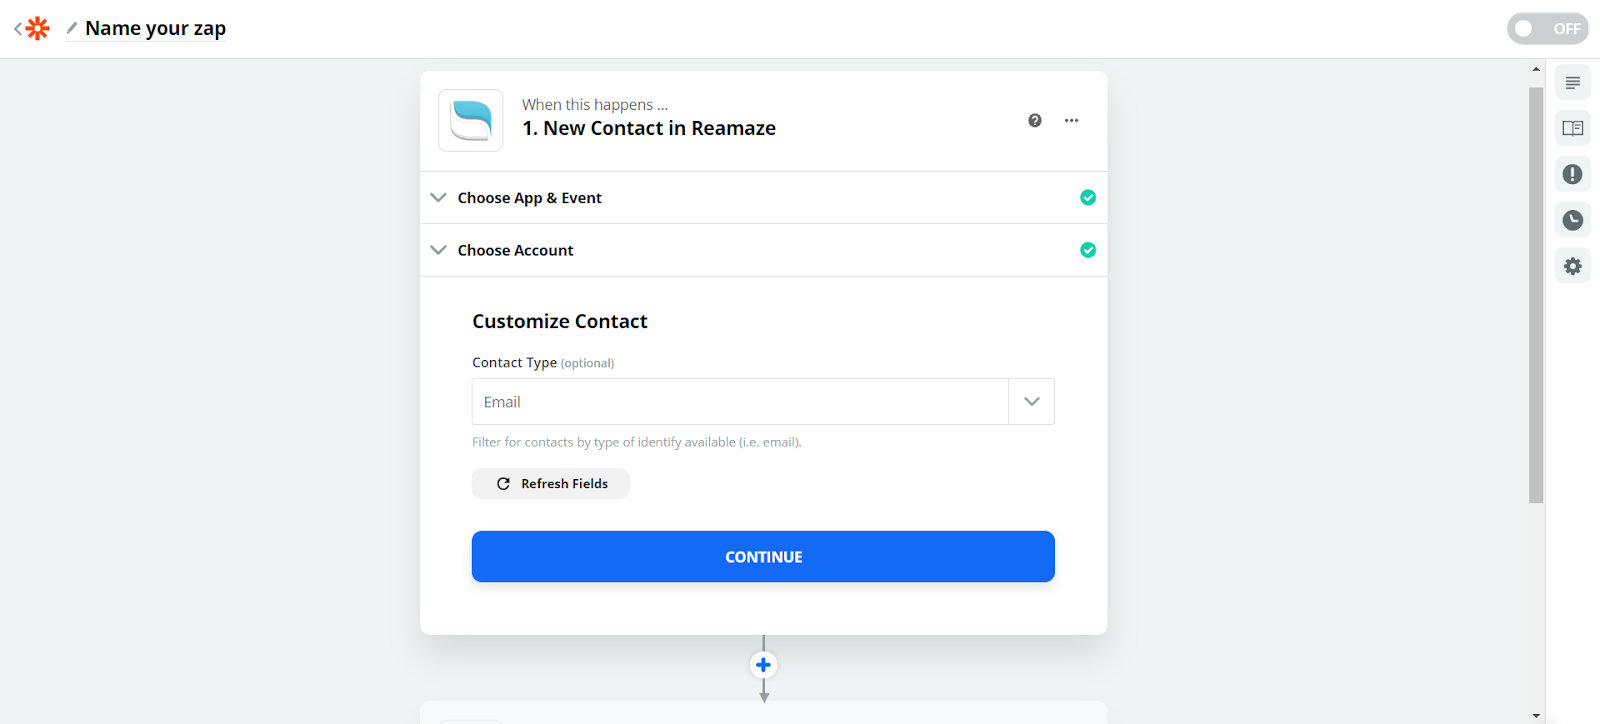
Click “Find Contact” to test the connection to Re:amaze.
Ok, that does it for the trigger. Time to set up the action!
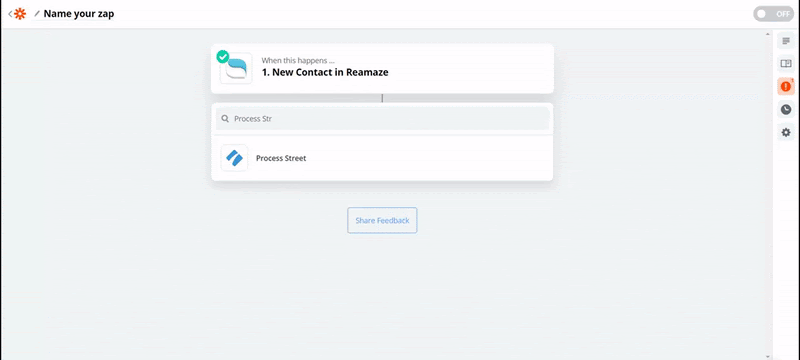
Setting up Process Street as the action
First, click the “Add a Step” button in the left column, and search for “Process Street” in the search box.
Proceed to select “Create Checklist” as the action:
Now you want to set up your Process Street account to connect with Zapier.
You’ll need your API key for this; you can find that in the “Settings & API” tab of the organization you wish to add.

Just click the “New API Key” button and copy the code into your clipboard.
Switch back into Zapier and click “Connect An Account” and input the API key you just created when prompted.

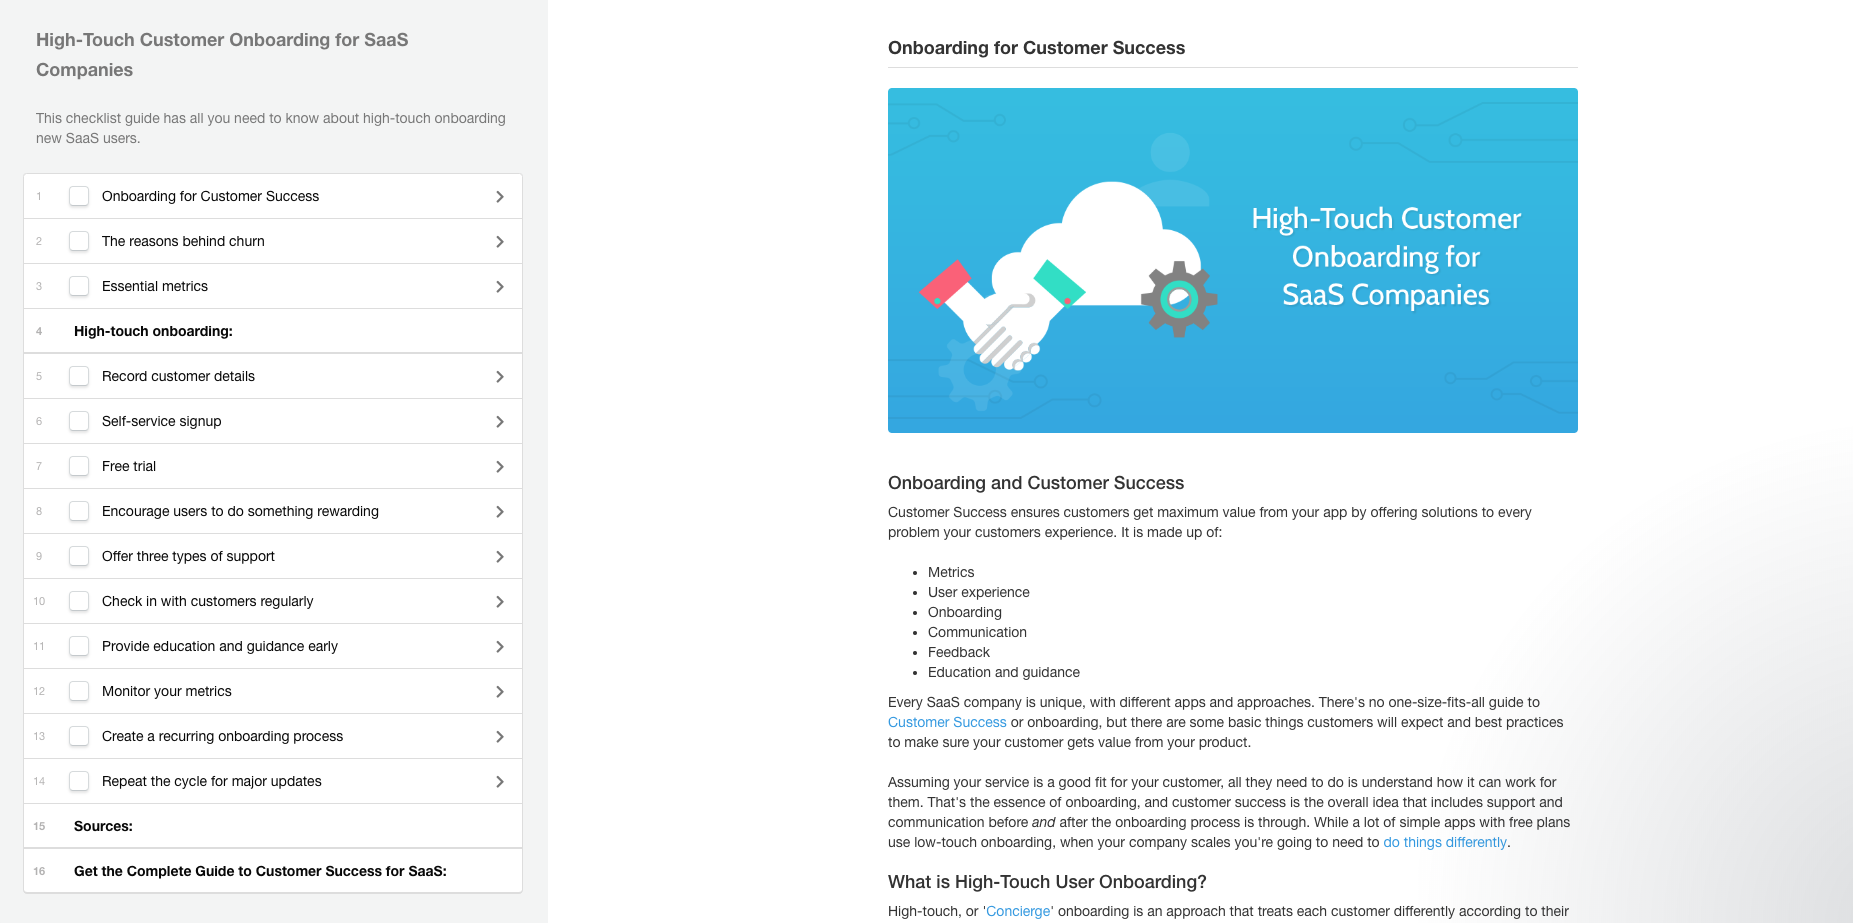
Now you’ll need to set up a Process Street template so that we can test out this Zap is working.
You can quickly make your own by creating a new template, or you can grab a pre-made one, like this checklist for client onboarding at a SaaS company:
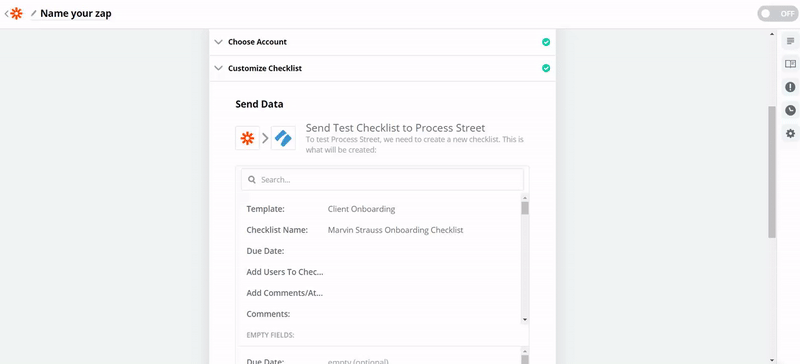
Whatever you decide to use, you’ll need to set up the fields in Zapier to correspond with whatever checklist you’re using.

When you’ve done this, click the “Continue” button at the bottom.
The fields that determine the checklist name are pulled from the Re:amaze trigger. More information could also be included, like the client’s email address, and additional details important for their onboarding.
Now it’s time to test the Zap.
Testing the integration
To test both parts of the integration are working, just scroll to the bottom of the next step and click “Send Test to Process Street”.
Now all you need to do is name the Zap and be sure that it’s turned “ON”!
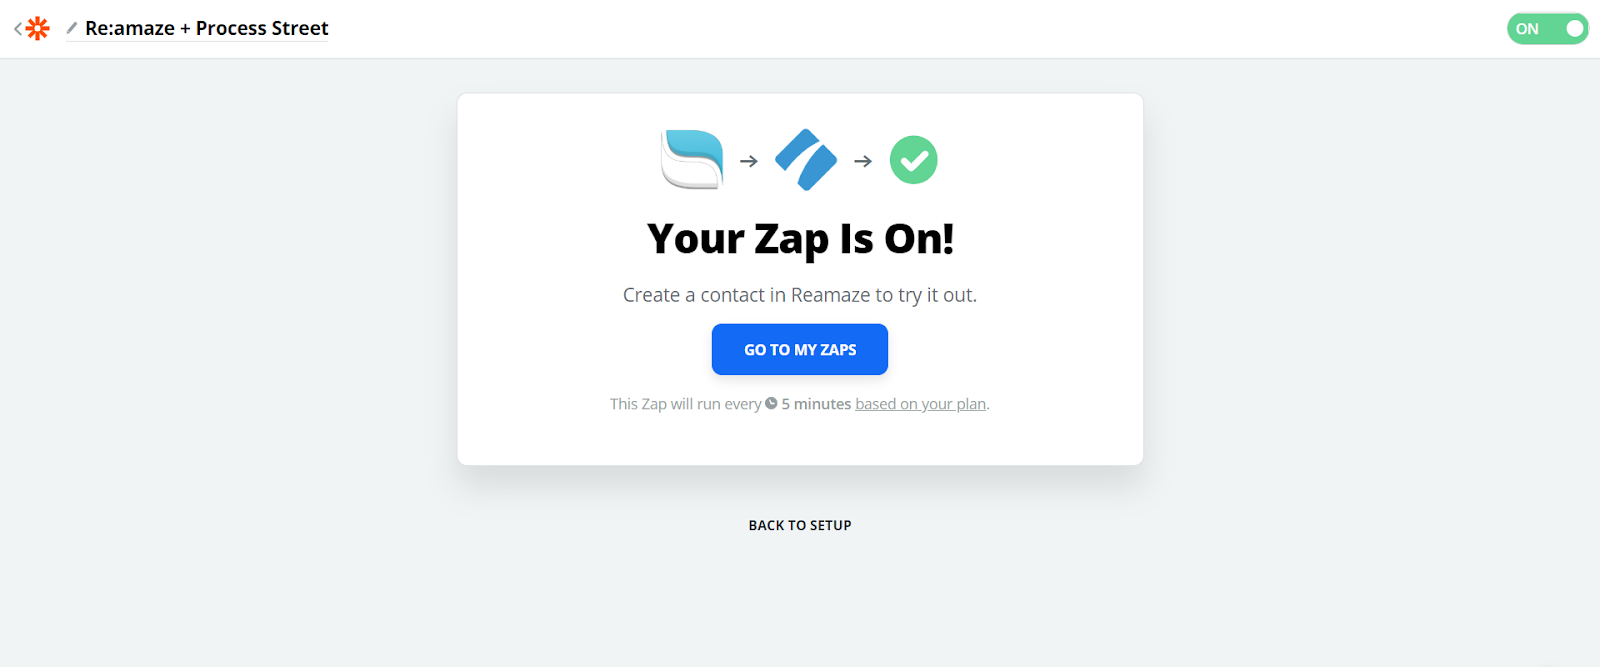
Congratulations! Your integration is all set up and ready to go.
Now, whenever you need to onboard a new client, you can rest assured you’ll be able to deliver them value as fast as possible while minimizing human error, reducing the chance of early churn, and maximizing retention.