Last Updated on July 5, 2018 by David
Jira is now available for Re:amaze! Jira is Atlassian’s popular project and issue tracking platform designed for technical support teams to collaborate and work faster.
You can find all of our Atlassian integrations here: https://marketplace.atlassian.com/vendors/1211462/reamaze
Some key features of Jira include:
- Issue tracking – allows teams to record and follow the progress of every problem or “issue” that users identify until the problem is resolved.
- Agile project management – an iterative approach to planning and guiding project processes.
- Customizable workflows and integrated solution – integrates with popular apps so you can work in sync.
- Process board to increase the velocity – consist of to do/in progress/in review/done divisions
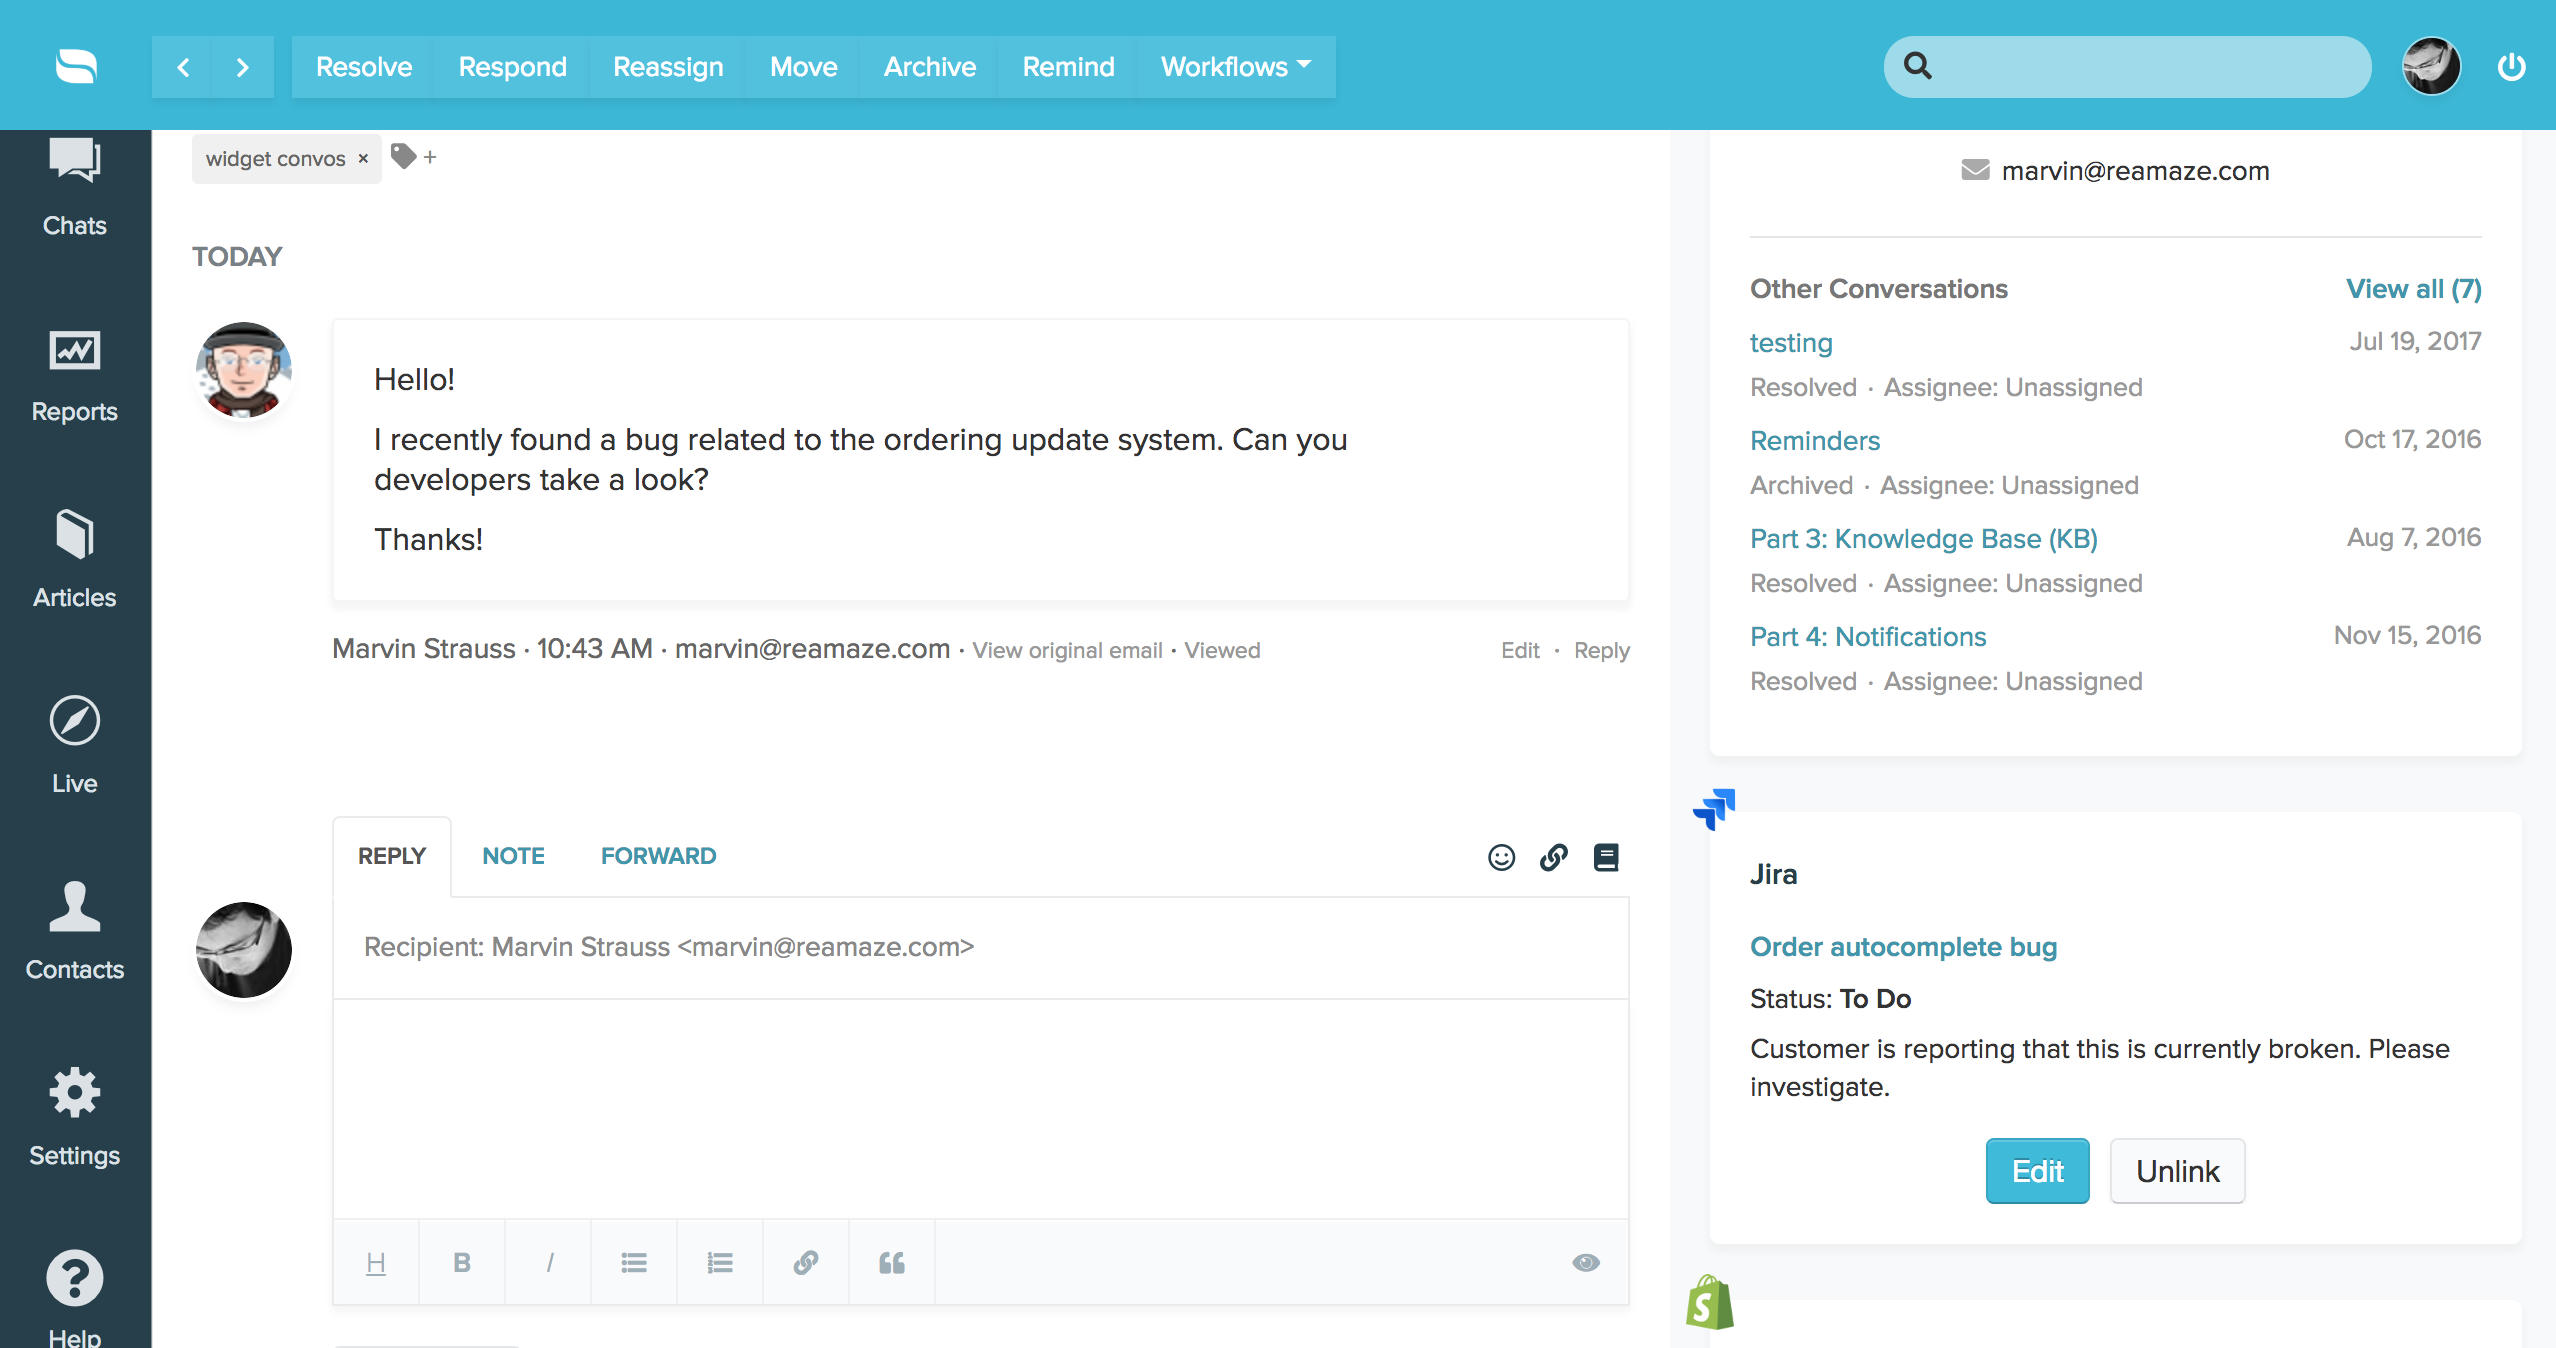
In a customer service context, Jira allows your support and technical support teams to easily obtain customer feedback and create new issues in Jira so your entire team has visibility into the feedback provided. You can also link to existing issues. Great customer service is deeply rooted in your ability to not only answer questions efficiently but to follow up with answers after something has been fixed or built for the customer. The Re:amaze Jira integration allows you to seamlessly talk to customers, track customer issues, update issues, and report back to customers all in one view.
Getting Started with Jira for Re:amaze
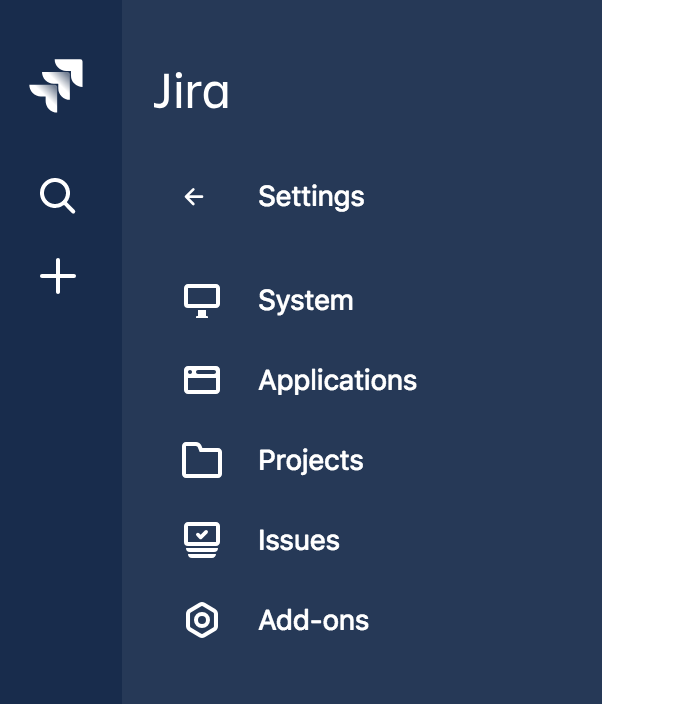
To connect your Jira account to Re:amaze, you’ll first need to access your Jira account. Open up your main project and click on “Settings”. This will allow you to search for Add-Ons.
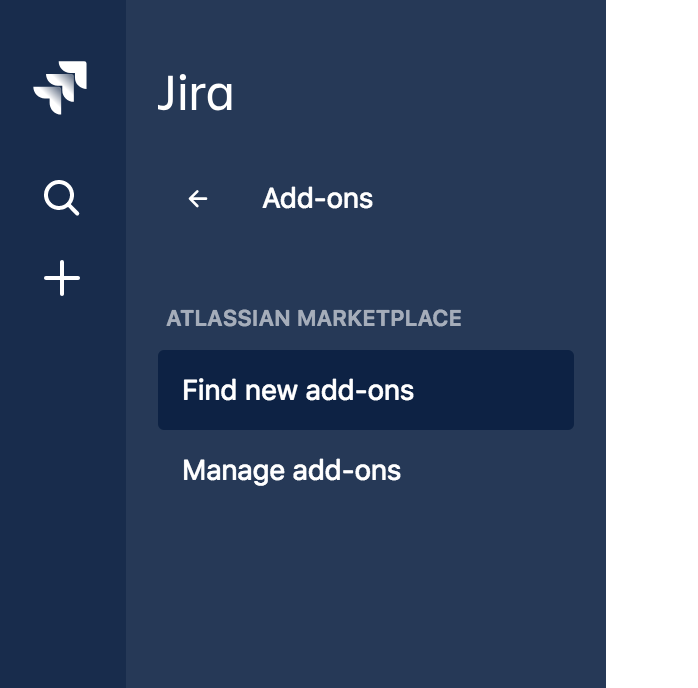
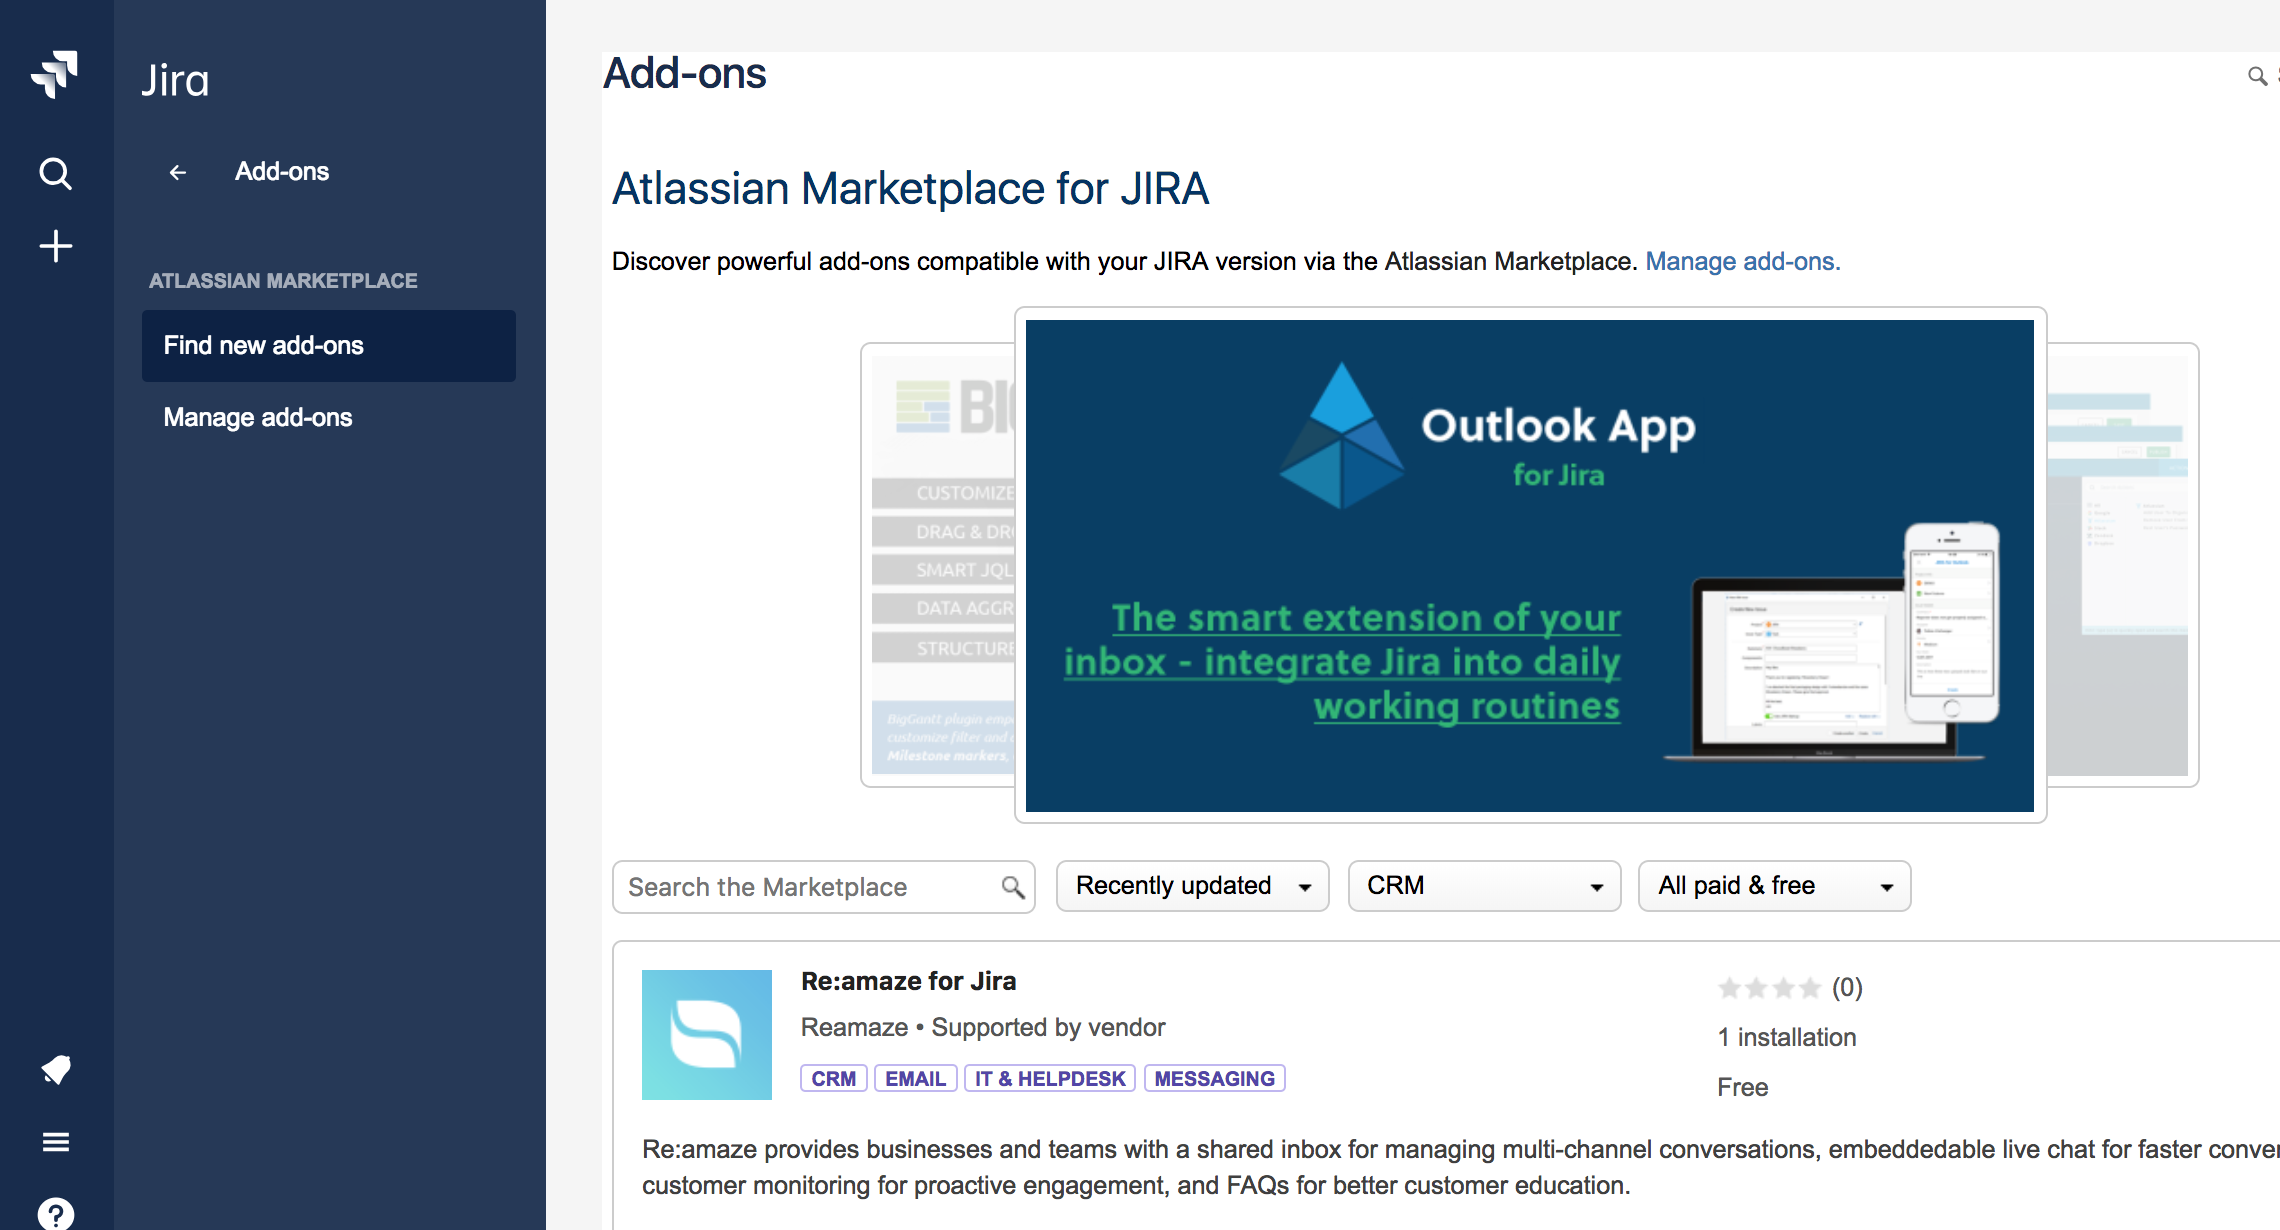
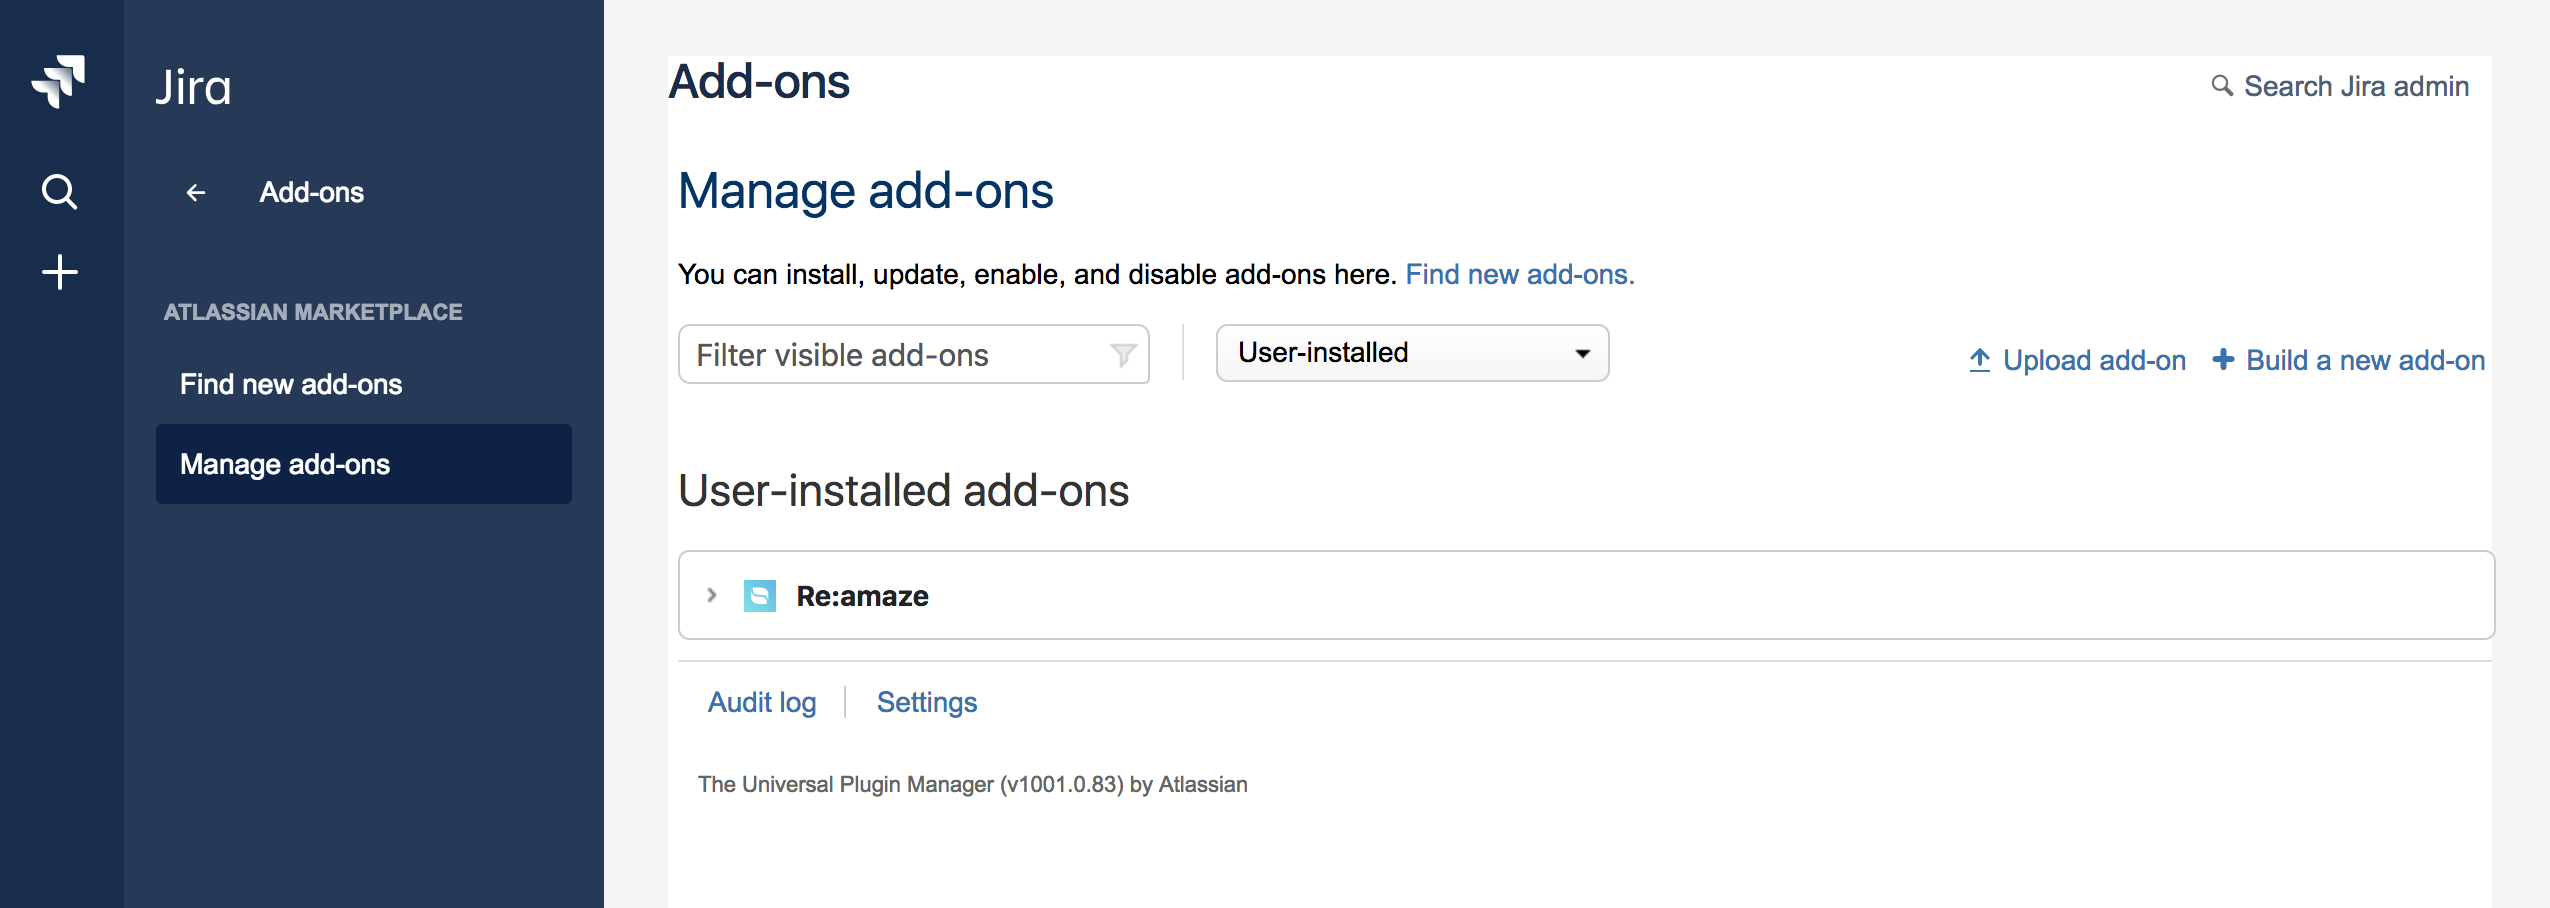
You can find the Re:amaze Add-On in the Atlassian Marketplace under the CRM category or by simply searching for “Re:amaze”. Once you’ve located our Add-On, simply click on the “Install” button. Make sure you’re already logged into your Re:amaze account before proceeding.
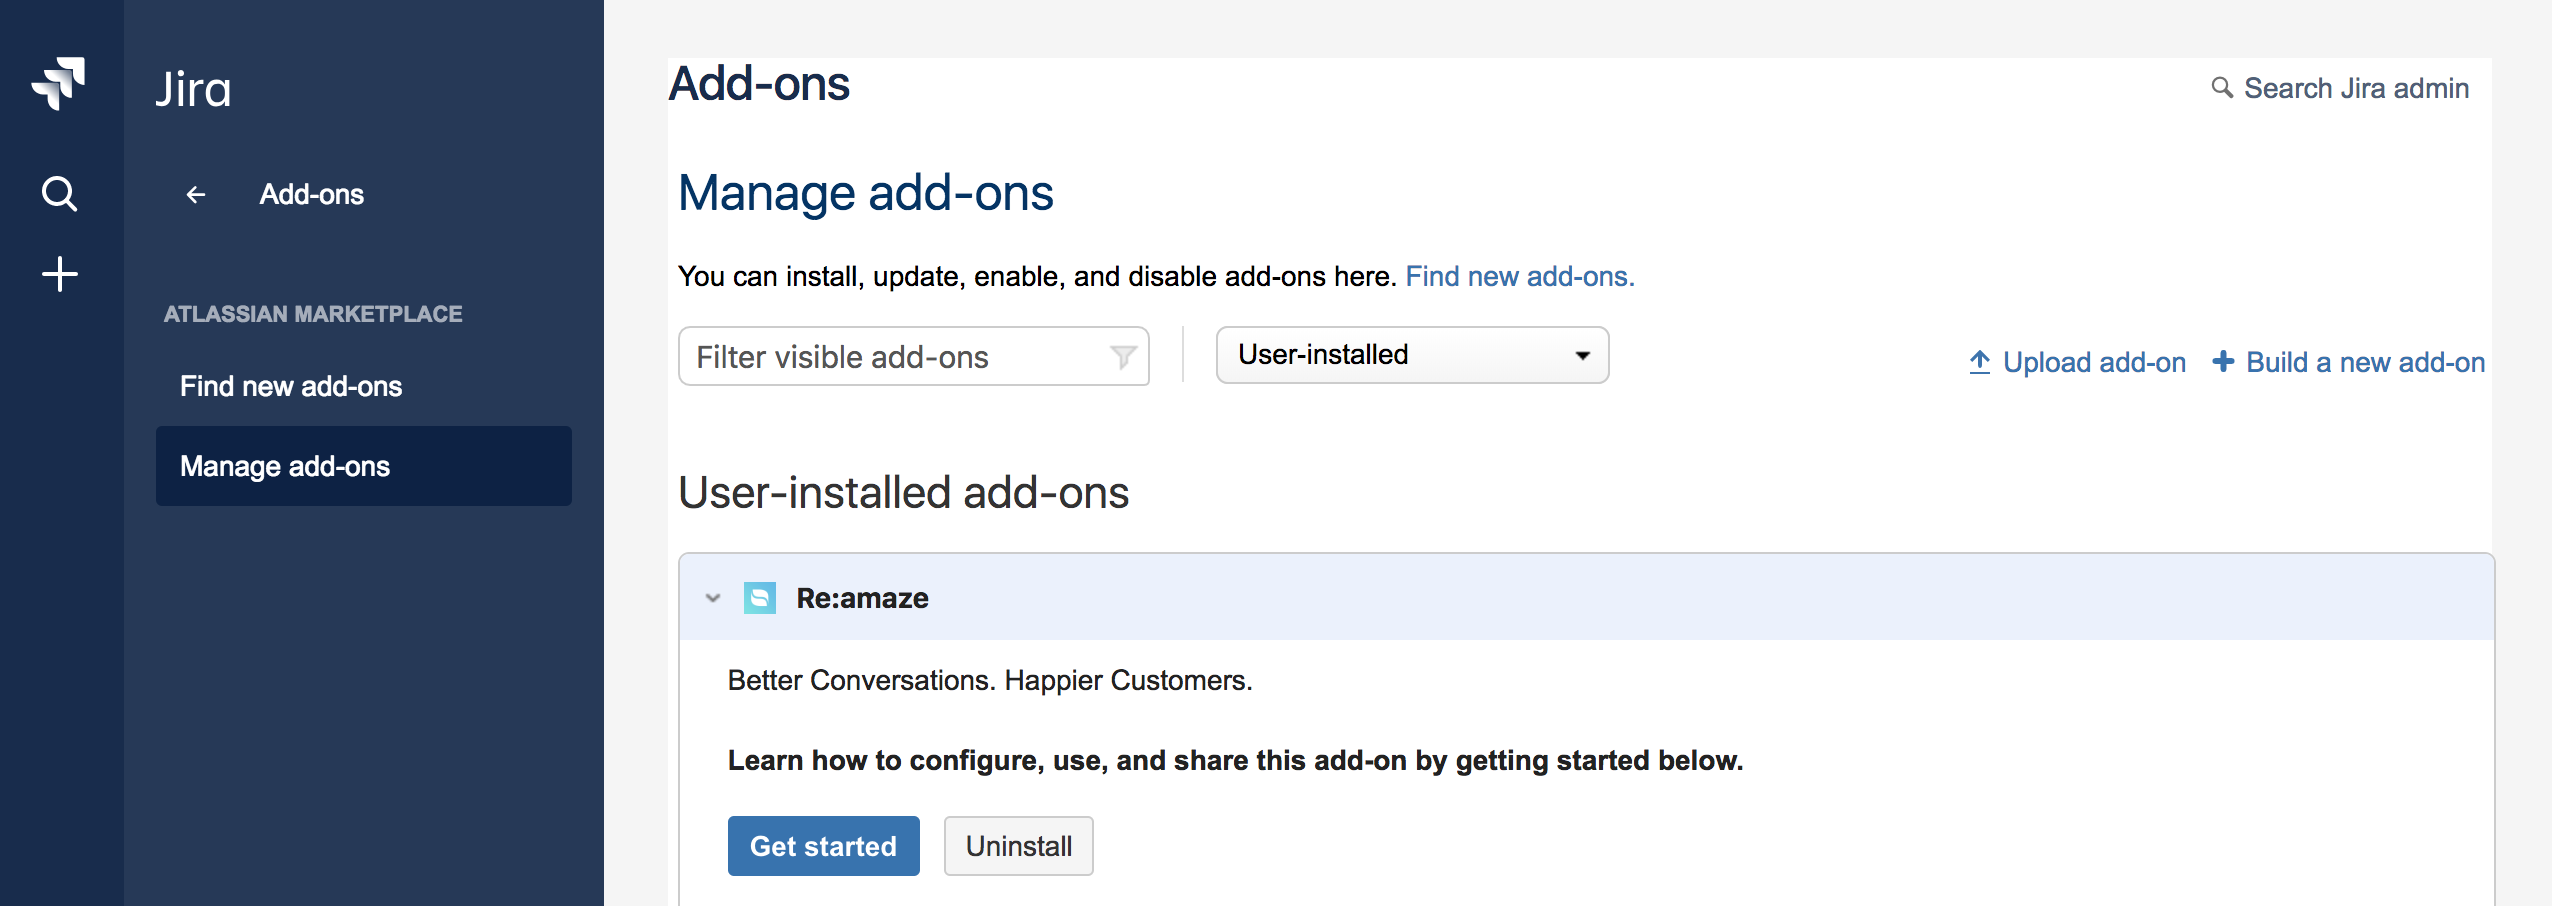
Once the Add-On has been installed, you can click on the “Get Started” button to connect to Re:amaze. Make sure to authenticate and accept all required permissions.
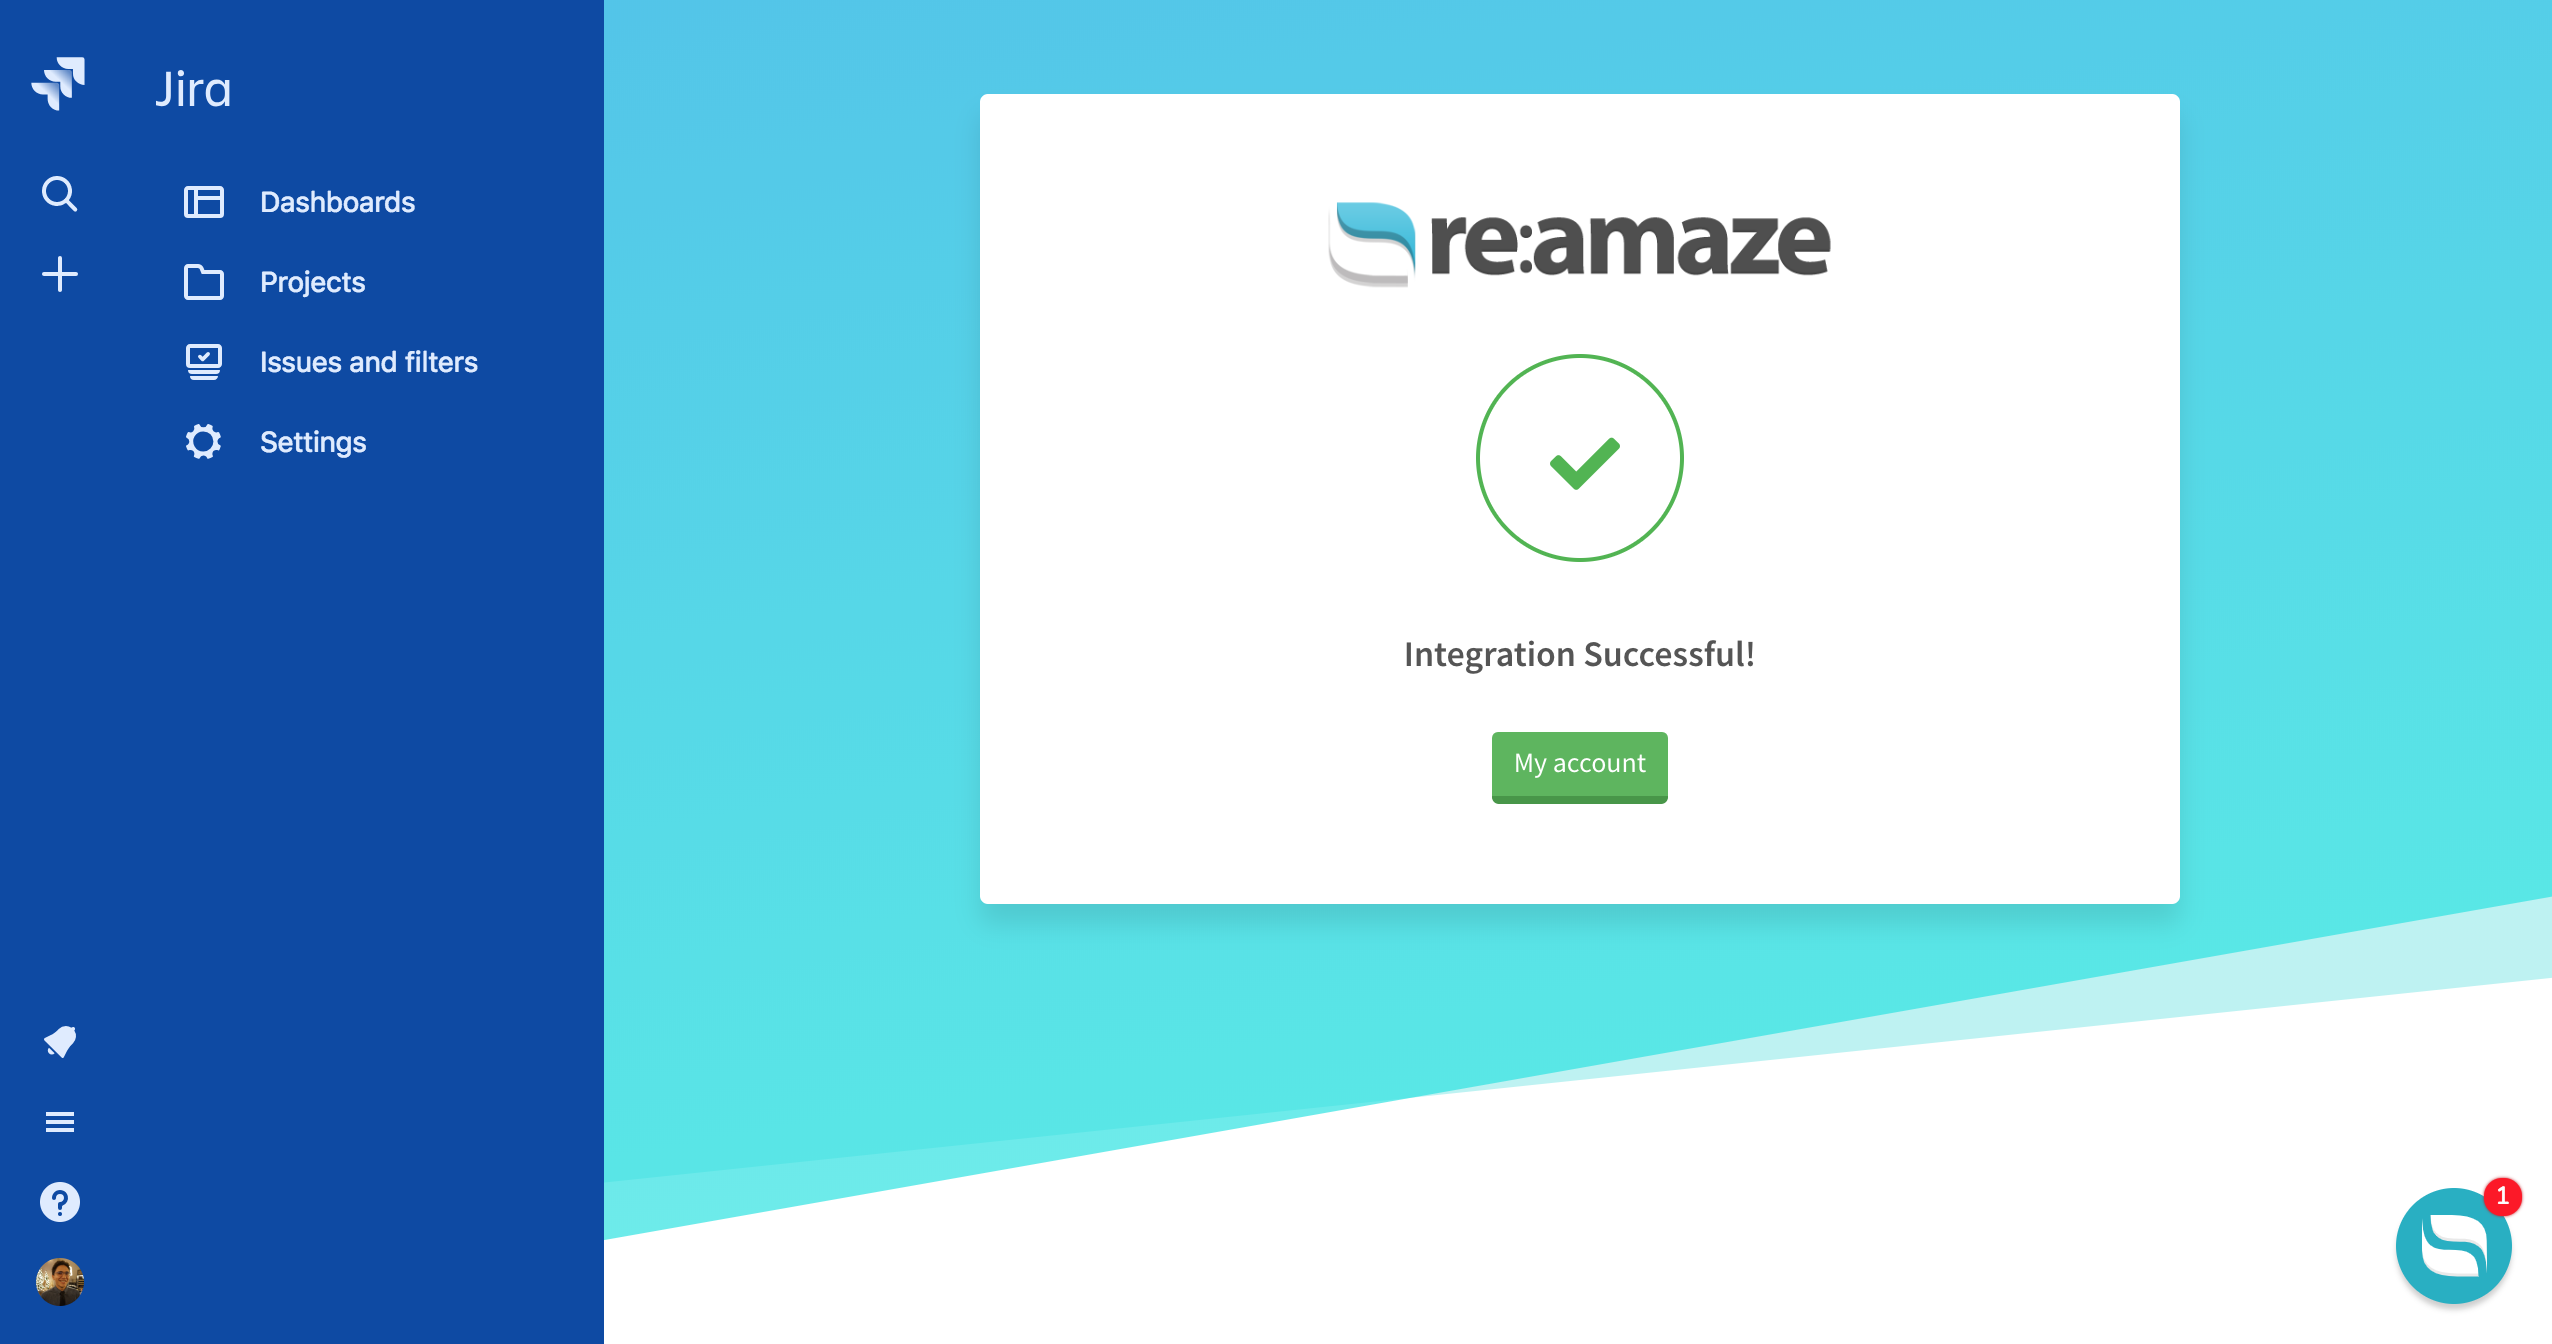
Once your Jira and Re:amaze account are properly linked, you should see a green check mark that reads “Integration Successful!”.
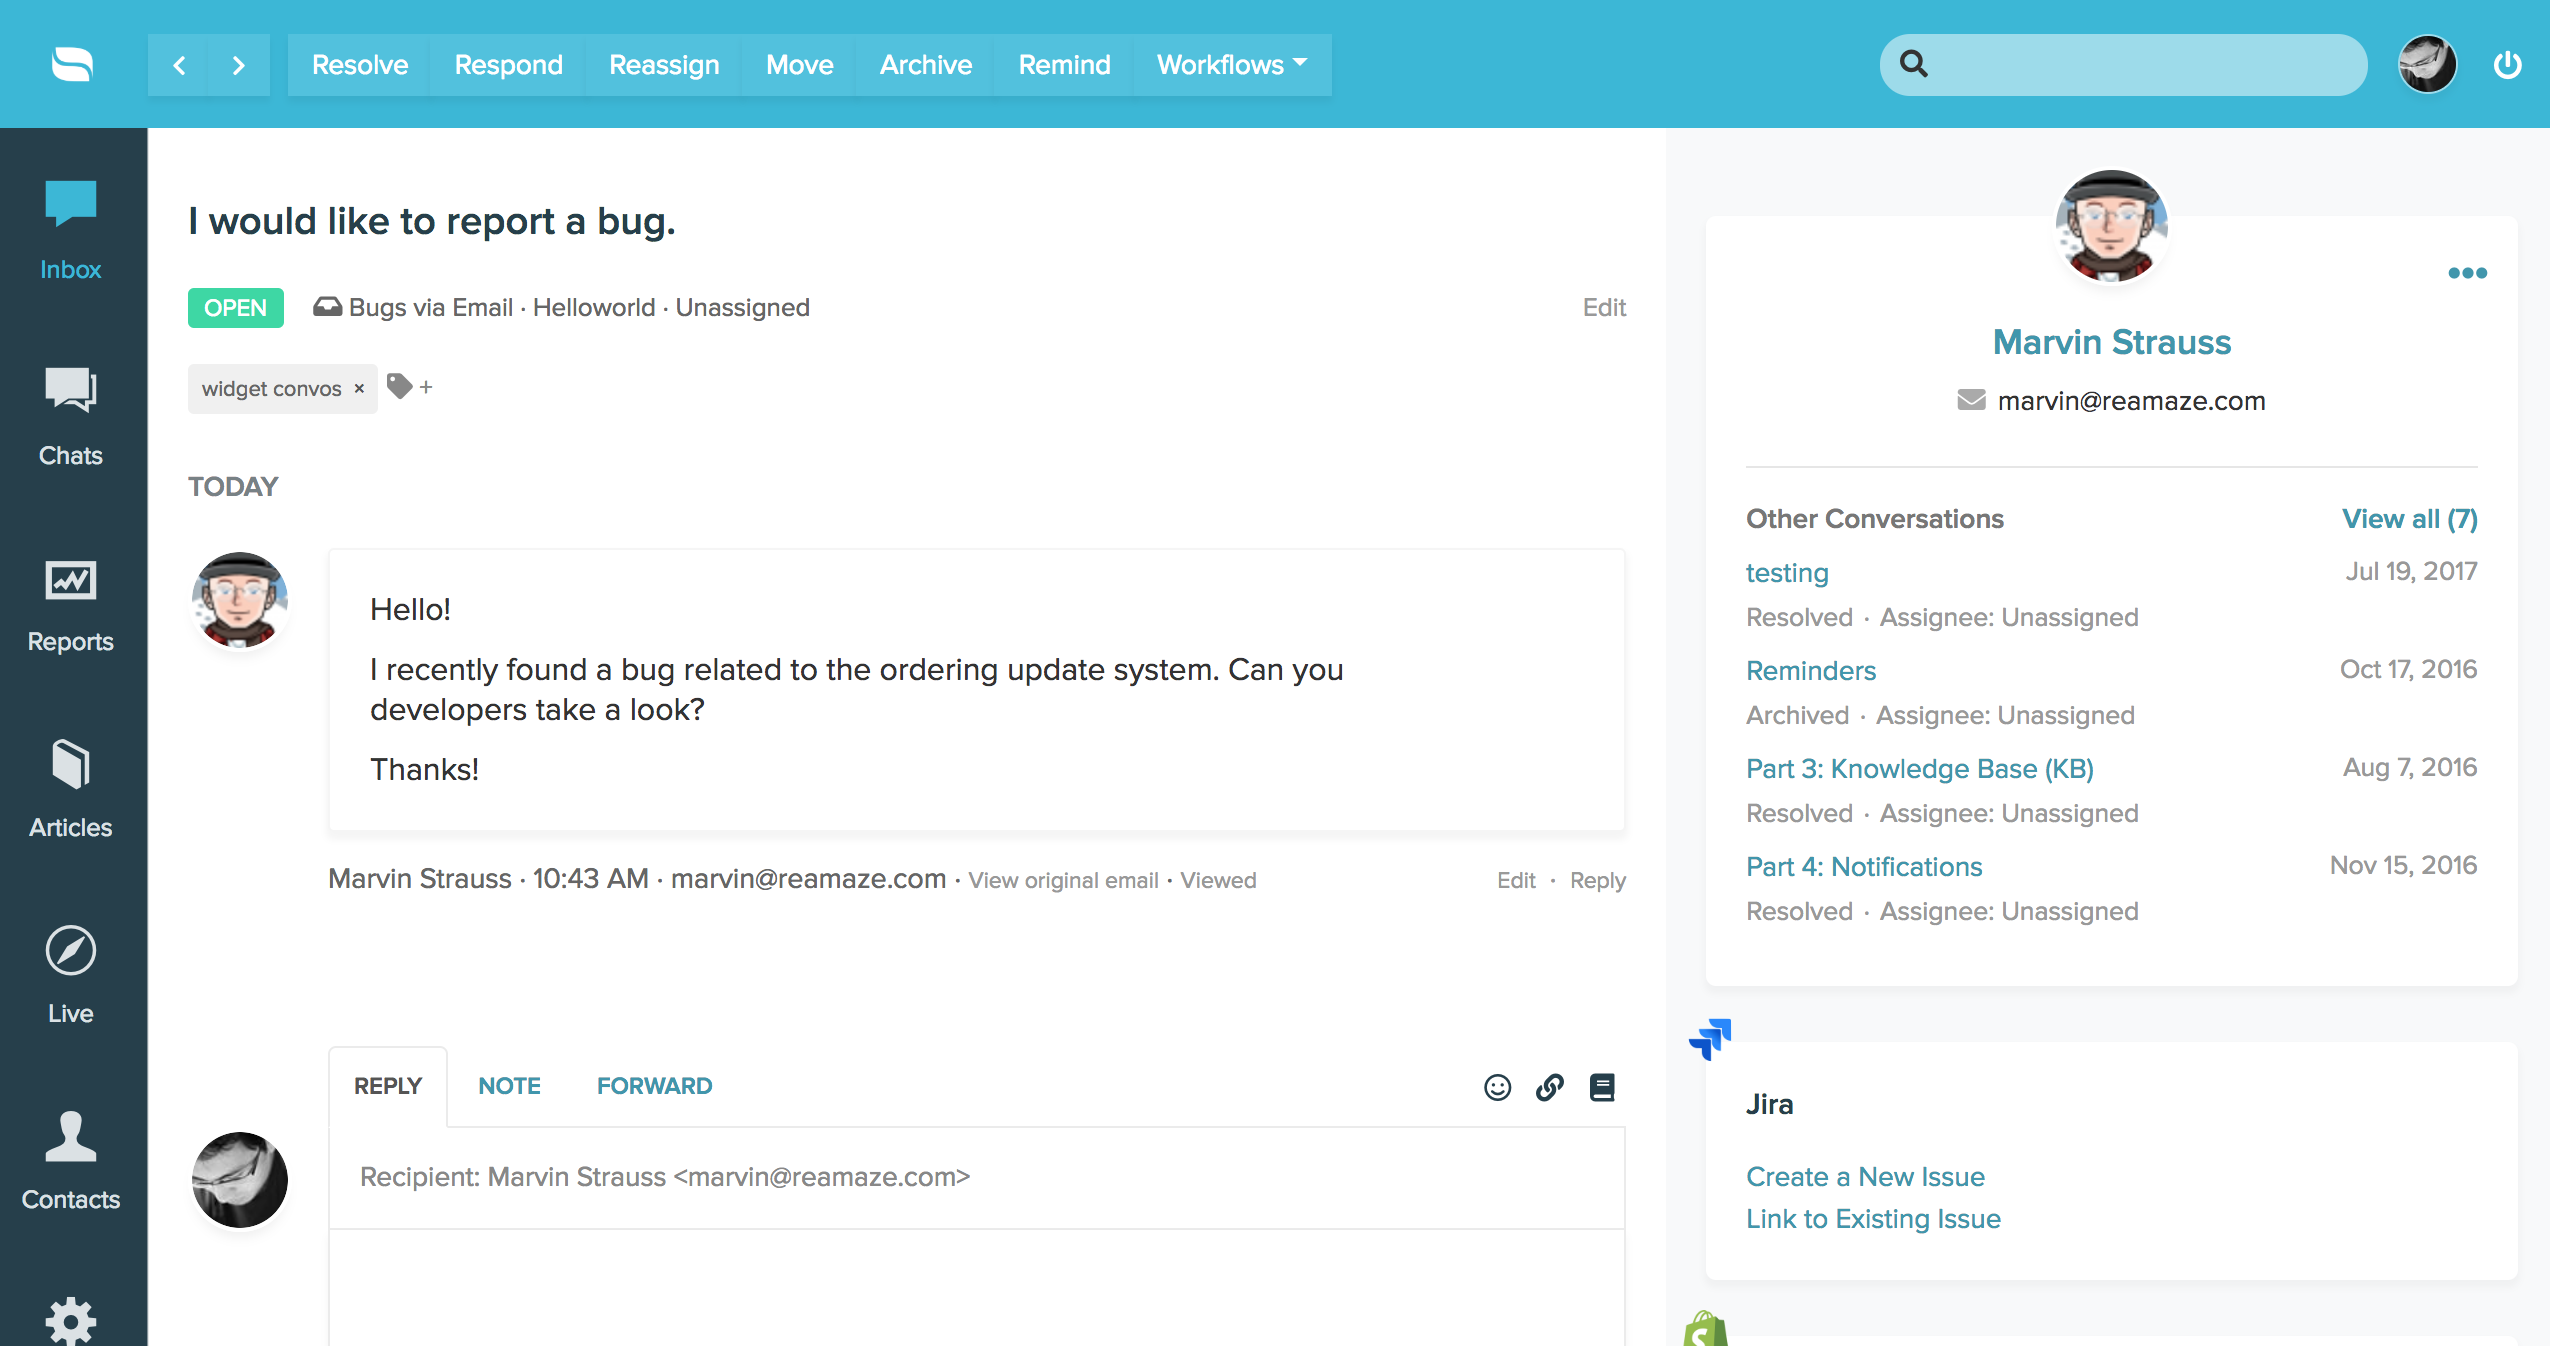
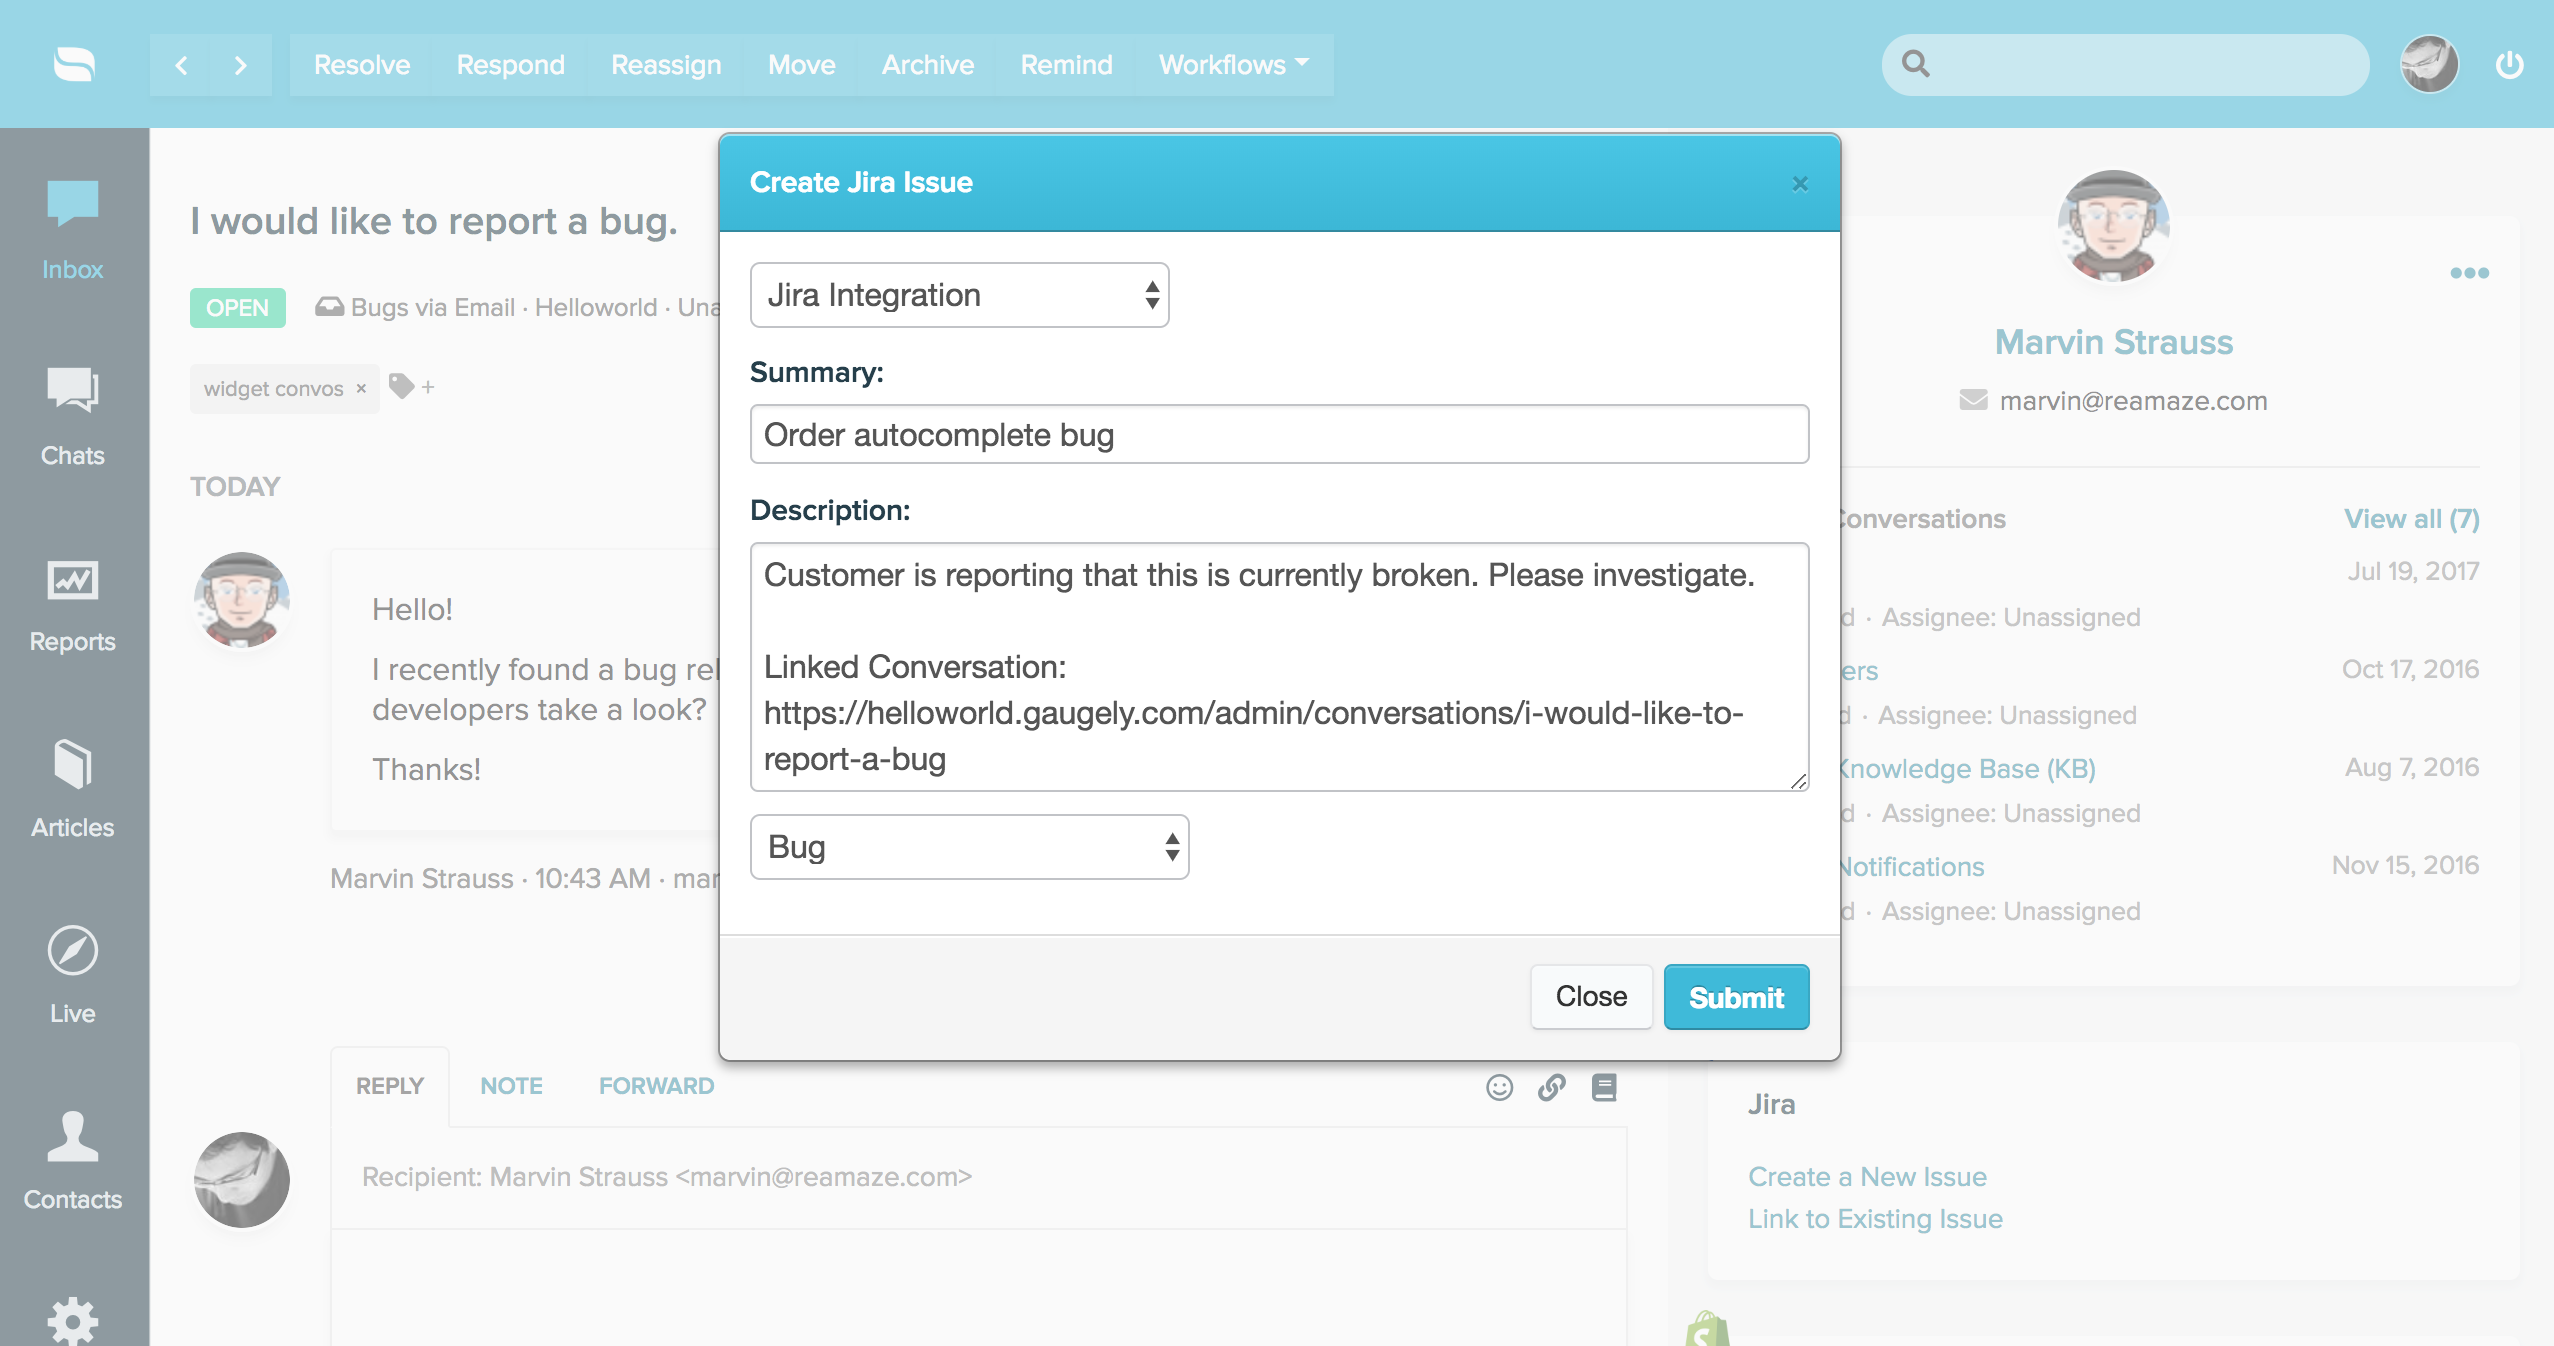
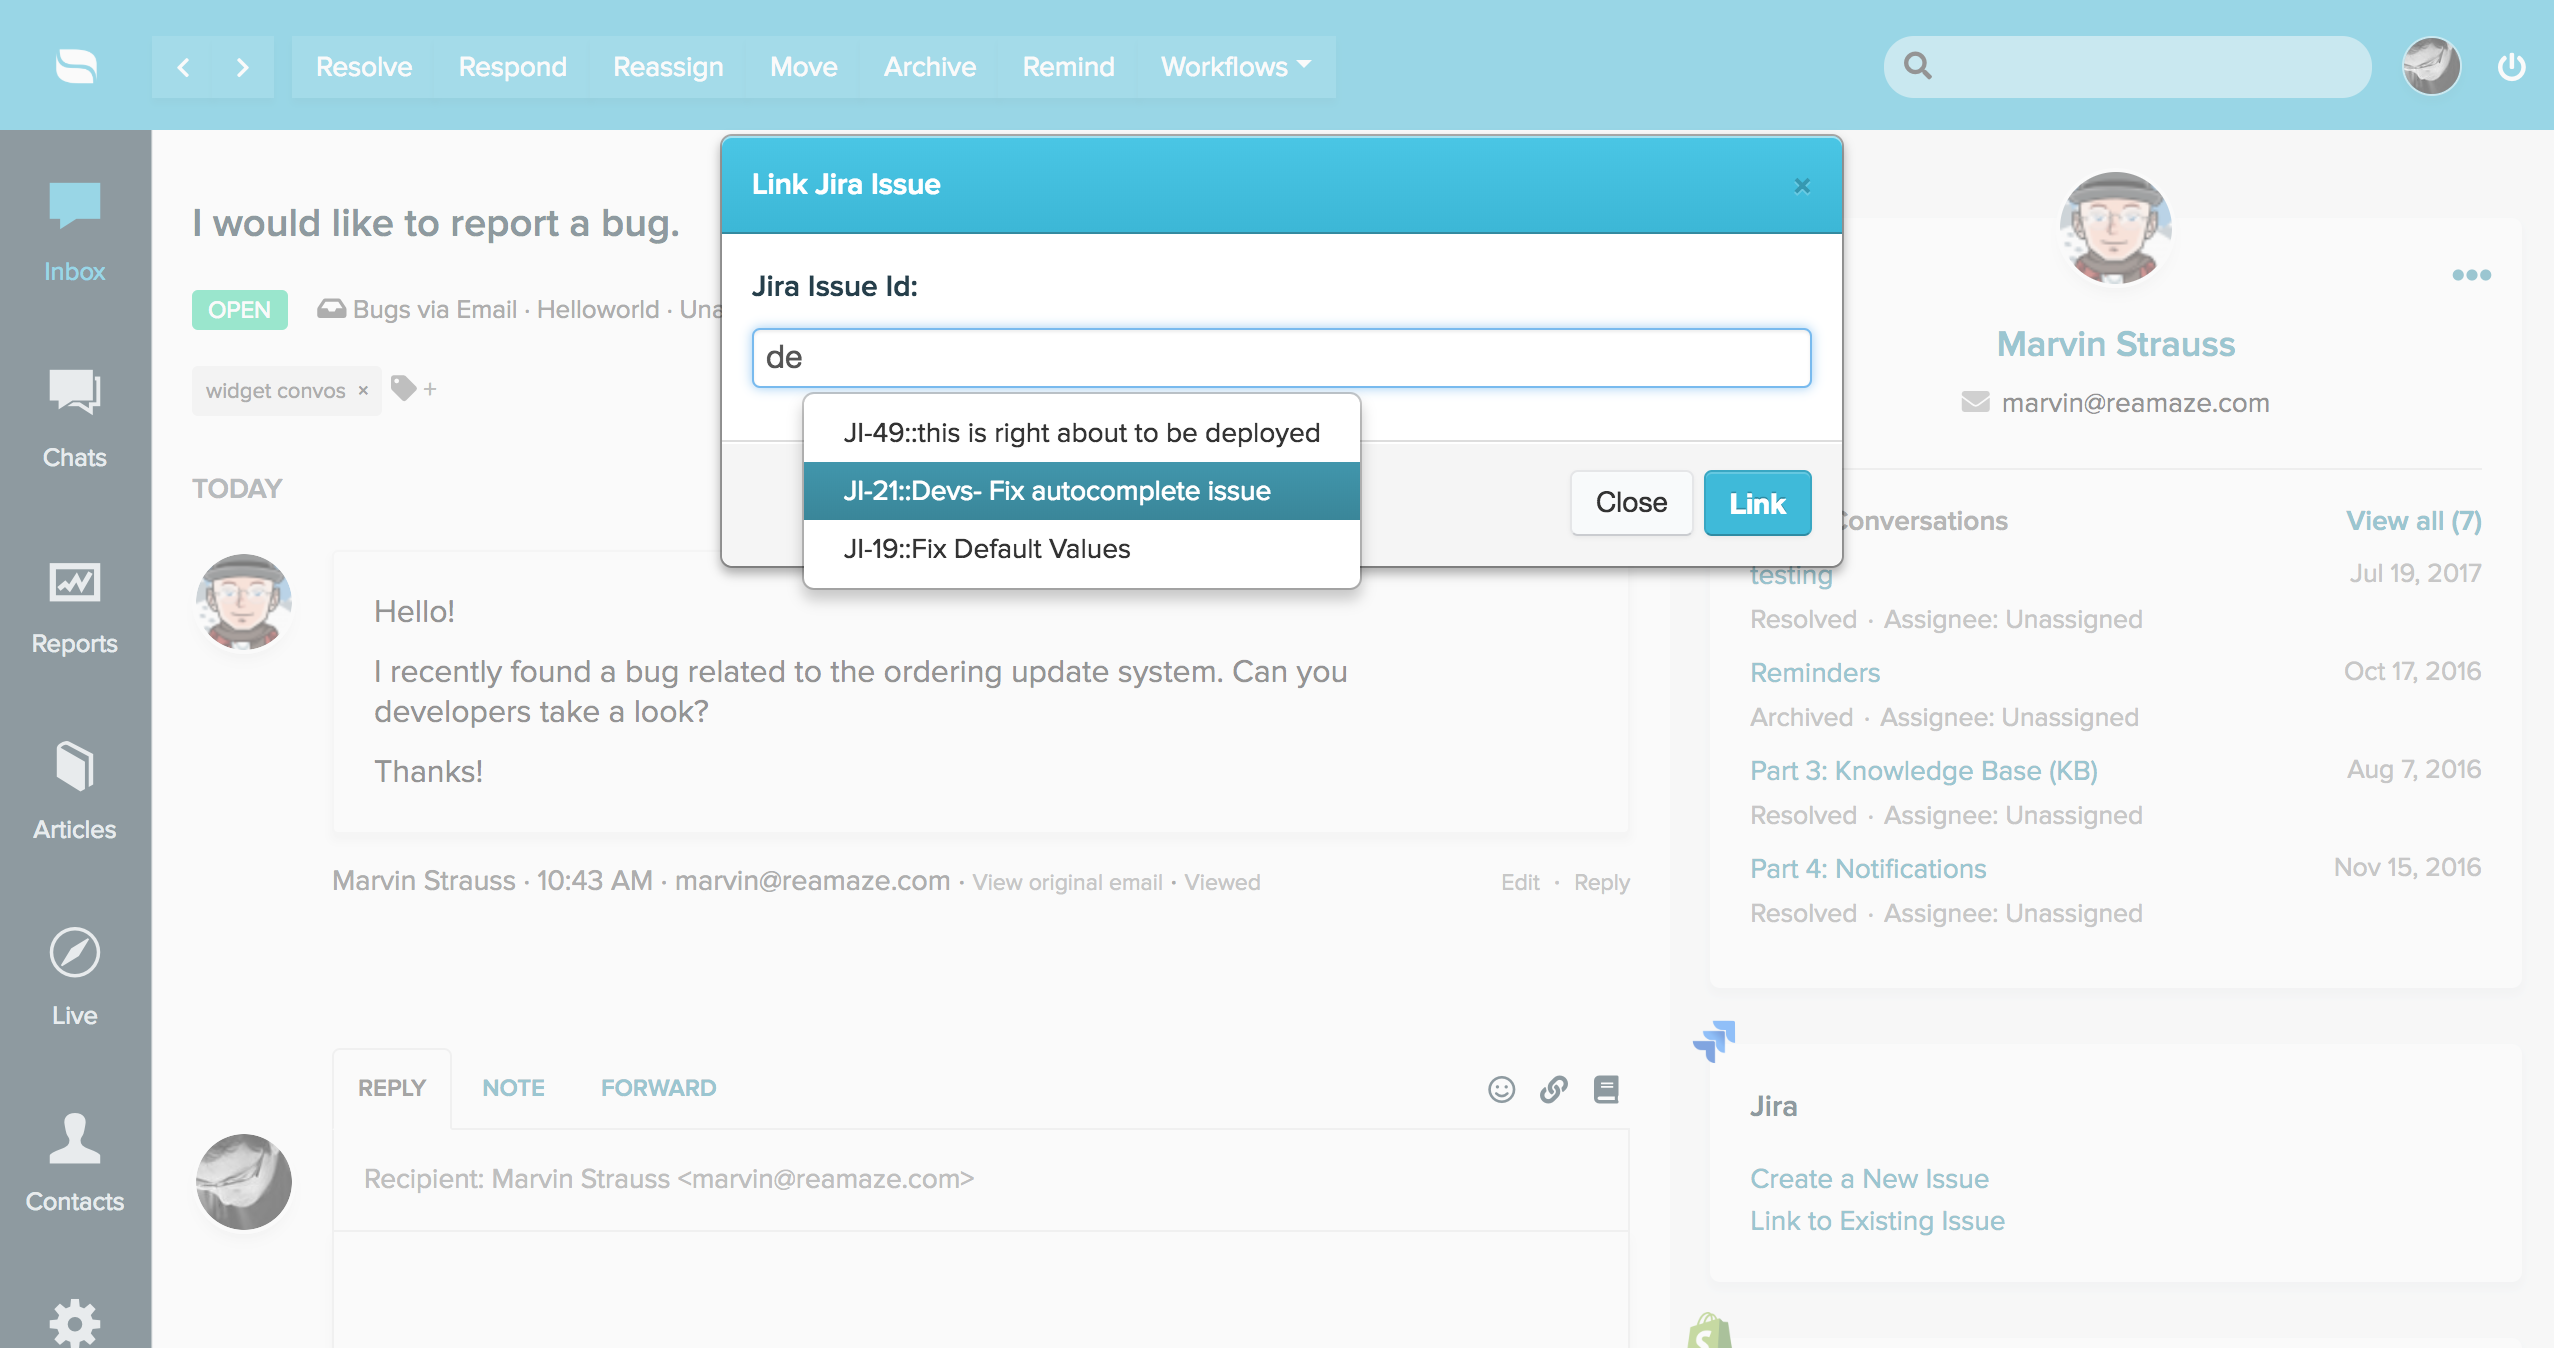
The Jira data module will now appear on the right hand side of your conversation views. You can create a “New Issue” related to the particular conversation you’re looking at or “Link to Existing Issue”.